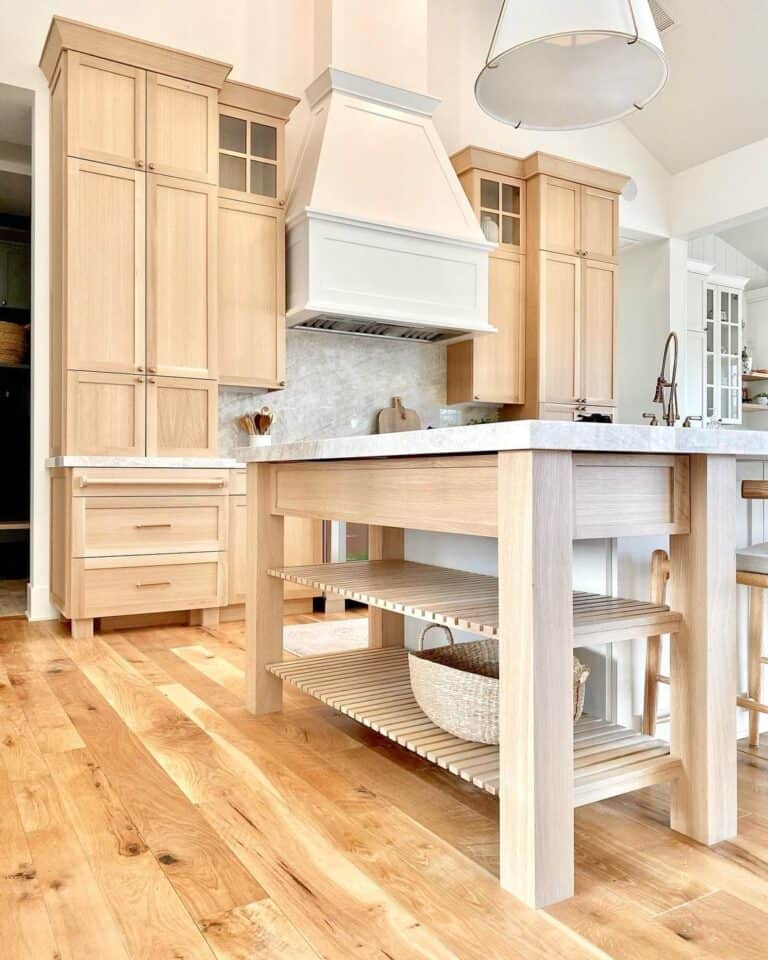
Food spills like syrup, cake batter and ketchup on wood cabinets can leave stubborn stains that require special tools to remove. Baking soda applied with a damp sponge is an ideal way to safely scrub off this dried substance without harming the finish of your wood cabinets.
Contrary to paint, stain displays the natural wood grain patterns and textures, which is appealing for some homeowners while others might prefer an altogether uniform aesthetic.
Stain colors play an integral role in their appearance; lighter hues brighten a room and create the impression that it is larger, while darker stains add warmth and create an intimate setting.
Before beginning staining cabinets, it is crucial that they are thoroughly cleaned in order for the stain to adhere correctly and produce an even finish. Furthermore, applying a pre-stain conditioner can help wood absorb stain more effectively - this product can even be applied using a paintbrush!
Always follow the manufacturer's instructions regarding application and drying times for stain applications and sealing times. After your stain has set, lightly scuff its wood cabinet surfaces with steel wool before applying additional coats until you achieve your desired color. After stain has set completely, sealing cabinets is also beneficial in protecting it from wear and tear and prolonging its longevity; some stain products even include one-step finishes that contain both sealers. If using separate acrylic urethane sealers separately instead, look for products compatible with your stain before sealing to prolong its longevity and extend its longevity if sealing separately compared to one-step products with integrated sealers already included within.
Wood grain patterns can make or break your kitchen cabinet color scheme. From an organic sleek wooden kitchen to something with rustic charm, stains highlight knots and grain patterns that paint tends to mask.
Direction of grain has an effect on your kitchen cabinet's aesthetic. Horizontal grain tends to create more traditional looks while vertical grain offers a more contemporary aesthetic. Both types can be highlighted further through application of stain using either book matching or slip matching techniques.
Sometimes homeowners want to upgrade their stained kitchen cabinets, but the visual weight of an oak or honey-oak grain pattern prevents them from creating that trendy new look they desire. Painting may be the solution: professional cabinet painters can typically mask this pattern so it becomes unrecognizable after being painted over.
Finishes in stained kitchen cabinets can make or break their appearance. A stain enhances wood's natural features such as grain patterns and knots while also protecting its surface with its protective layering properties. Furthermore, stain offers more color choices than paint does and can easily be wiped off to refresh their appearance when desired.
Due to their porous surface, stains tend to show dirt and food particles more easily than painted surfaces do, necessitating more frequent cleaning of cabinets containing them, with condensation-related spills potentially leading to moisture damage or pest infestation.
Paint offers more coverage than stain and can cover some flaws more effectively. A high quality semi-gloss polyurethane finish can give your cabinets an eye-catching lustrous shine while being highly resistant to heat, fungus, mildew, scratches, water, dents and heat damage.
Some homeowners appreciate how stain highlights natural character marks and grain patterns of wood, while others may find them unappealing and prefer painted cabinets instead.
Stained cabinets should be regularly cleaned to remove food debris, grease and dirt deposits that become difficult to clear over time. Some spots may respond well to non-abrasive emollient cleaners while other stains require more effort in terms of elbow grease and scrubbing.
Start by mixing water and non-abrasive detergent in a bucket, adding just a hint of natural wood cleaner, then mix. Use a soft cloth dipped into this solution to rub down cabinet surfaces before rinsing it off and wiping down one door or drawer front at a time; opening and closing both doors until each side are clean before wiping down and wiping down one drawer front or door at once, opening to rinse both faces off thoroughly; be sure to rinse glass faces too before wiping clean rag clean! Before spray cleaner use, always test on an inconspicuous spot first before spraying all over surfaces that need attention before starting on any large project such as this.
So there you have it - a step-by-step guide on how to refinish stained kitchen cabinets, bringing new life to your beloved kitchen space. But why stop there? If you're a woodworking enthusiast looking to expand your skills and get more creative with your projects, you don't want to miss out on exploring the countless possibilities that a Forstner bit can offer. From creating perfectly clean and precise holes to innovative designs and joinery techniques, the Forstner bit is a game-changer in the woodworking world. Check out this article to discover five incredible and unique uses for the Forstner bit that will take your woodworking craftsmanship to the next level.
Immerse yourself in architecture’s most boundary-pushing ideas—where innovative home improvements meet visionary urban developments. Discover new building techniques, materials, and creative concepts that are redefining how we shape our spaces on a global scale.