
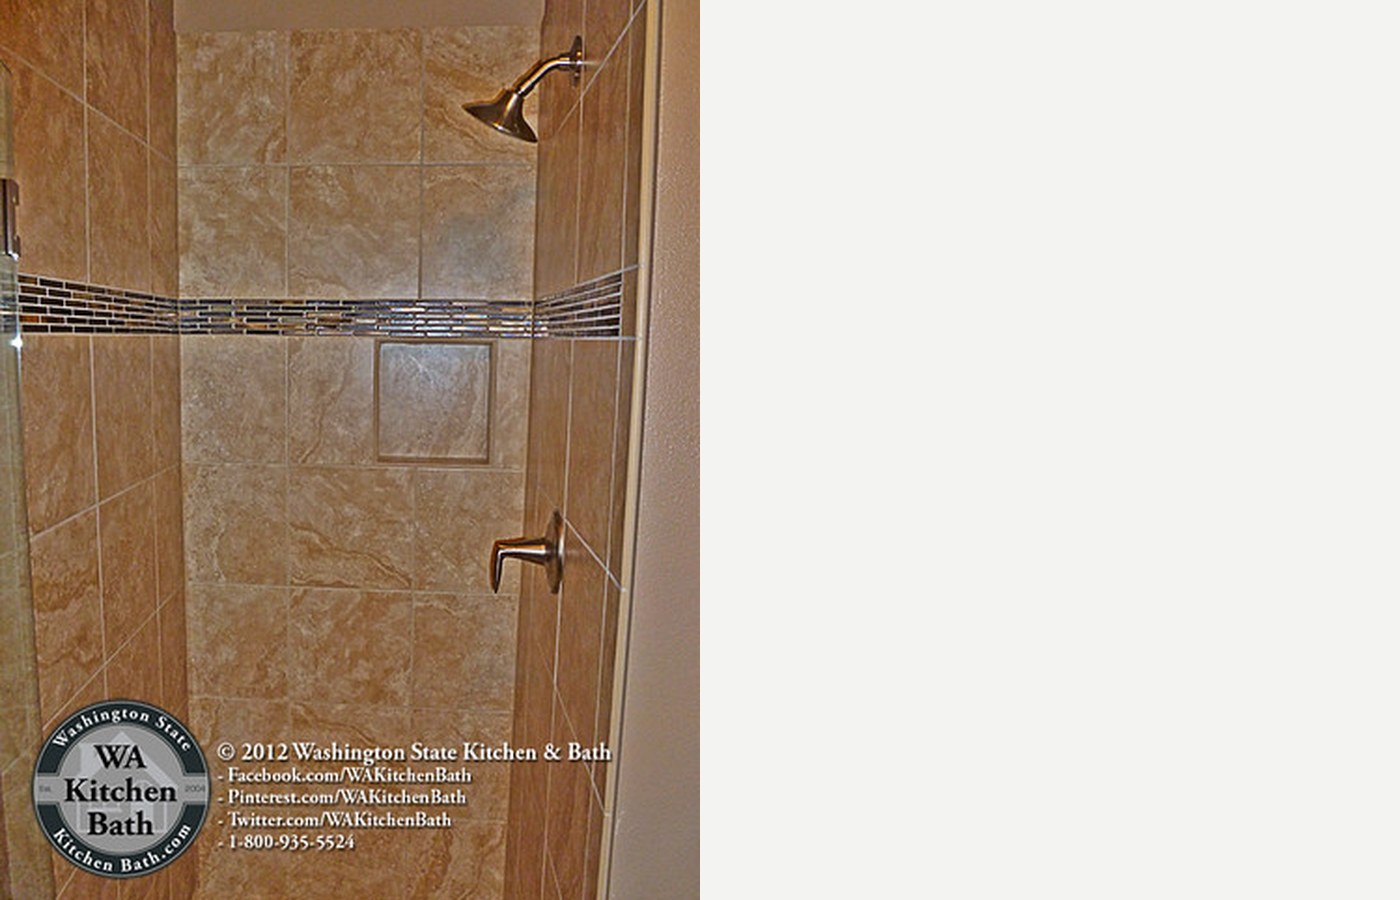
Grout haze is a frustrating but common issue that appears as a cloudy, film-like residue on tile surfaces after grouting. It dulls the tile’s shine and can make even new tile look dirty or unfinished. Fortunately, you don’t need to call a professional to fix this. With the right approach and materials, you can remove grout haze yourself and restore your tile’s natural beauty. In this guide, you’ll find clear, practical steps tailored for homeowners and DIY enthusiasts. We’ll cover everything from what grout haze is, how to safely clean it off, and how to avoid damaging your tile in the process. Follow these instructions carefully, and you’ll enjoy sparkling clean tiles in just a few hours.
Before You Start
Grout haze forms when grout residue dries on the tile surface after installation. It’s especially common with cement-based grouts, which can leave a thin film even after initial cleaning. Removing grout haze requires gentle but effective cleaning methods to avoid scratching or dulling your tile. This guide focuses on using appropriate cleaners, soft scrubbing tools, and precise rinsing techniques. You’ll learn how to test your tile for sensitivity, choose the right cleaning agents, and work systematically to remove haze from all tile surfaces. We also highlight common pitfalls like using harsh chemicals or abrasive tools that can damage tile glaze or natural stone. Whether your tiles are ceramic, porcelain, or stone, you’ll find expert advice to help you achieve a flawless finish.
⚠️ Safety First
- Wear rubber gloves to protect your skin from cleaning agents.
- Ensure proper ventilation when using commercial grout haze removers.
- Do not mix different cleaning chemicals to avoid hazardous reactions.
- Avoid using harsh abrasives or metal tools that can damage tile surfaces.
🛠 What You'll Need for How To Remove Grout Haze From Tile

Materials
- White vinegar — mild acid to dissolve grout haze on ceramic and porcelain tiles
- Baking soda — gentle abrasive for stubborn haze spots
- Warm water — dilutes cleaning solutions and rinses residue
- Grout haze remover (commercial product) — for tough or cement-based grout haze
- Microfiber cloths — for wiping and polishing tiles
- Plastic bucket — to mix cleaning solutions
- Rubber gloves — protect your skin from cleaning agents
- Soft sponge or nylon scrubber — non-abrasive scrubbing
Tools
- Spray bottle — to evenly apply cleaning solutions
- Grout float or plastic scraper — carefully remove thick haze or residue without scratching tile
- Soft-bristle brush — to gently scrub grout lines and tile surfaces
- Measuring cup — for accurate dilution of cleaning agents
- Wet/dry vacuum or mop — to remove excess water after cleaning
Step-by-Step Instructions

Step 1 Prepare the Area and Gather Materials ~15 min
Clear the tile area of any furniture or debris. Put on rubber gloves to protect your hands. Assemble all materials and tools listed, and fill your spray bottle with a 1:1 mixture of white vinegar and warm water for initial cleaning.
💡 Pro Tip: Test the vinegar solution on a small, inconspicuous tile area to ensure it does not damage or discolor your tile, especially if you have natural stone.
Step 2 Apply Vinegar Solution to Tile Surface ~10 min
Spray the vinegar and water solution generously over the tiled area with grout haze. Let it sit for 5 to 10 minutes to loosen the haze but avoid letting it dry on the surface.
💡 Pro Tip: Do not let the solution sit longer than 10 minutes to prevent etching on sensitive tiles like marble or limestone.
Step 3 Scrub Tiles Gently with Soft Sponge ~20 min
Using a soft sponge or nylon scrubber, gently scrub the tile surface in circular motions to remove the haze. Focus on areas with visible residue but avoid harsh scrubbing that might scratch the tile.
💡 Pro Tip: Use light pressure and avoid steel wool or abrasive pads which can damage tile glaze.
Step 4 Rinse Thoroughly with Warm Water ~15 min
Use clean warm water to rinse the tiles thoroughly, removing all vinegar and loosened haze. Use a mop or wet/dry vacuum to remove excess water promptly.
💡 Pro Tip: Ensure no cleaning solution is left behind, as residues can cause further haze.
Step 5 Treat Stubborn Haze with Baking Soda Paste ~25 min
For remaining haze spots, mix baking soda with water to create a thick paste. Apply the paste to the haze areas and gently scrub with a soft-bristle brush. Let sit for 5 minutes before rinsing again.
💡 Pro Tip: Avoid over-scrubbing natural stone tiles; test in a small area first.
Step 6 Use Commercial Grout Haze Remover if Needed ~30 min
If vinegar and baking soda do not fully remove the haze, apply a commercial grout haze remover according to the manufacturer's instructions. Always wear gloves and ensure good ventilation.
💡 Pro Tip: Choose a remover compatible with your tile type and grout. Avoid acidic removers on natural stone tiles.
Step 7 Final Rinse and Dry ~20 min
Rinse the entire tiled surface thoroughly with clean water to remove any remaining residues. Dry the tiles with microfiber cloths to prevent water spots and inspect for any remaining haze.
💡 Pro Tip: Allow the floor to fully dry before walking on it or applying any sealers.
Common Mistakes to Avoid

- Starting before the surface is clean and dry enough for the product label.
- Using a topical coating when the job calls for a penetrating sealer.
- Leaving sealer residue on tile faces long enough to create haze.
- Counting cure time as active work time instead of planning a separate no-traffic window.
💡 Pro Tips & Expert Advice
- Always test cleaning solutions on a small hidden area before full application.
- Use plastic scrapers instead of metal to avoid scratching tile.
- Work in small sections to prevent cleaning solutions from drying on tile.
- For natural stone tiles, avoid acidic cleaners like vinegar; use pH-neutral products.
- Seal grout only after the tile and grout are completely dry to prevent haze formation.
Frequently Asked Questions
- Q: What causes grout haze?
- Grout haze forms from leftover grout residue that dries on tile surfaces after installation or cleaning.
- Q: Can I use vinegar on all tile types?
- Vinegar is safe for ceramic and porcelain but can damage natural stone like marble or limestone. Use pH-neutral cleaners for stone tiles.
- Q: How long does it take to remove grout haze?
- Active cleaning typically takes 2 to 3 hours, plus drying time. Total time depends on haze severity and tile area.
- Q: Do I need to seal my grout after removing haze?
- Epoxy grout usually does not need sealing. Cement-based grout should be sealed after tile and grout are fully dry using a penetrating grout sealer.
- Q: What if the haze won’t come off?
- Use a commercial grout haze remover designed for your tile type, following all safety instructions.
- Q: Can I walk on tiles immediately after cleaning?
- Wait until tiles are fully dry to prevent slipping and to ensure cleaning residues are gone.
Removing grout haze is a manageable DIY task that can dramatically improve the appearance of your tiled surfaces. By following this step-by-step guide and using the appropriate materials and tools, you can safely and effectively restore your tile’s shine without professional help. Remember to test cleaning solutions first, work patiently in small sections, and avoid harsh abrasives. With consistent care, your tiles will look clean and vibrant for years to come. If you encounter stubborn haze or sensitive tile types, consider specialized products or professional advice. Happy cleaning!
Sources & Product Label Checks
Use these focused references and product-label checks before sealing grout on porcelain, ceramic, kitchen, bathroom, or floor tile.
Sources & Product Label Checks
- Cement-based grout needs product-specific sealing decisions: TCNA consumer guidance points homeowners back to grout and sealer manufacturer directions because grout type and installation conditions affect maintenance. Identify whether the joint is epoxy or cement-based before buying sealer, then match the label to sanded or unsanded grout and the floor location. Source: Tile Council of North America
- Moisture control is part of grout maintenance: EPA mold guidance emphasizes drying wet areas and correcting moisture problems instead of treating surface cleaning as the only fix. Do not seal over damp grout or recurring leaks; let the floor dry fully and address water intrusion before applying penetrating sealer. Source: U.S. Environmental Protection Agency
- Dense porcelain needs a light sealer application: MAPEI technical guidance treats dense surfaces such as porcelain as surfaces that may accept only a thin coat of penetrating sealer. Apply sealer sparingly on porcelain-adjacent grout, keep it on the grout lines, and wipe residue before it dries into streaks or haze. Source: MAPEI
- Penetrating sealer labels still control the job: CUSTOM describes TileLab Grout & Tile Sealer as a penetrating sealer for grout and tile stain resistance. Use the product label to confirm cement grout compatibility, cure time, coverage, ventilation, cleanup, and porcelain spot-test instructions. Source: CUSTOM Building Products
On Architecture Adrenaline
- How To Seal Grout In Kitchen Tile Floor: Read the full guide
- How To Clean Tile Bathroom Walls: Read the full guide
- How To Recaulk A Shower Corner: Read the full guide
- Black Tile And Grout: Read the full guide
Authoritative Planning References
- Tile Council of North America Consumer Resources - Use TCNA consumer guidance as a tile-system reference point, then follow the grout and sealer manufacturer labels for the exact product on site.
- EPA Mold Cleanup Guidance - Moisture control matters around bathroom floors, showers, and grout joints because persistent dampness can support mold growth.
- MAPEI Applying Sealers Technical Bulletin - Manufacturer guidance for applying penetrating sealers sparingly on dense porcelain and wiping residues during installation.
- CUSTOM TileLab Grout & Tile Sealer - Manufacturer product page for a penetrating grout and tile sealer; always verify current label directions before use.
Shopping Shortlist
For porcelain tile grout jobs, buy by label fit: penetrating grout sealer, controlled applicator, haze cleanup, neutral cleaner, and clean microfiber cloths.
Sealer
Penetrating grout sealer for porcelain tile floors
For cement-based grout lines; verify the label says penetrating sealer and porcelain-safe cleanup.
Check cement-grout compatibility, porcelain cleanup directions, coverage, cure time, and spot-test instructions.
Applicator
Grout sealer applicator bottle or brush tip
Helps keep sealer on the grout line instead of flooding the tile face.
Check cement-grout compatibility, porcelain cleanup directions, coverage, cure time, and spot-test instructions.
Haze cleanup
Grout haze remover for porcelain tile
Useful if cement haze or sealer residue remains after normal wiping.
Check cement-grout compatibility, porcelain cleanup directions, coverage, cure time, and spot-test instructions.
Maintenance
pH-neutral tile and grout cleaner
A safer maintenance cleaner after the sealer has cured.
Check cement-grout compatibility, porcelain cleanup directions, coverage, cure time, and spot-test instructions.
Wiping cloths
Microfiber cloths for sealer residue
Use clean cloths to wipe and buff porcelain tile faces before residue dries.
Check cement-grout compatibility, porcelain cleanup directions, coverage, cure time, and spot-test instructions.
