

Grout haze is a common issue after tile installation, leaving a cloudy film that dulls your ceramic tile’s natural beauty. if you are tackling haze from fresh cement grout, epoxy residues, or leftover sealer, removing it properly is key to restoring your floor or wall’s shine without damaging the tile surface. In this guide, you’ll find expert, step-by-step instructions tailored for homeowners and DIYers that cover diagnosis, safety, product selection, and troubleshooting. By following these proven methods, you’ll confidently remove grout haze and enjoy a pristine tile finish.
Before You Start
Grout haze forms when grout residue or sealer is left on the tile surface after installation. It can appear as a white, cloudy film or a sticky residue, varying by grout type and tile finish. Diagnosing the haze correctly is essential because cement-based grout haze responds to acidic or alkaline cleaners, while epoxy grout haze requires specialized removers. Sealer haze and soap or hard-water films need different approaches. This guide outlines how to identify your grout haze type, select the safest and most effective cleaning products, and execute the removal process with clear, timed steps. We also include troubleshooting tips and safety precautions to protect both you and your tiles.
Tile Type and Haze Safety Check
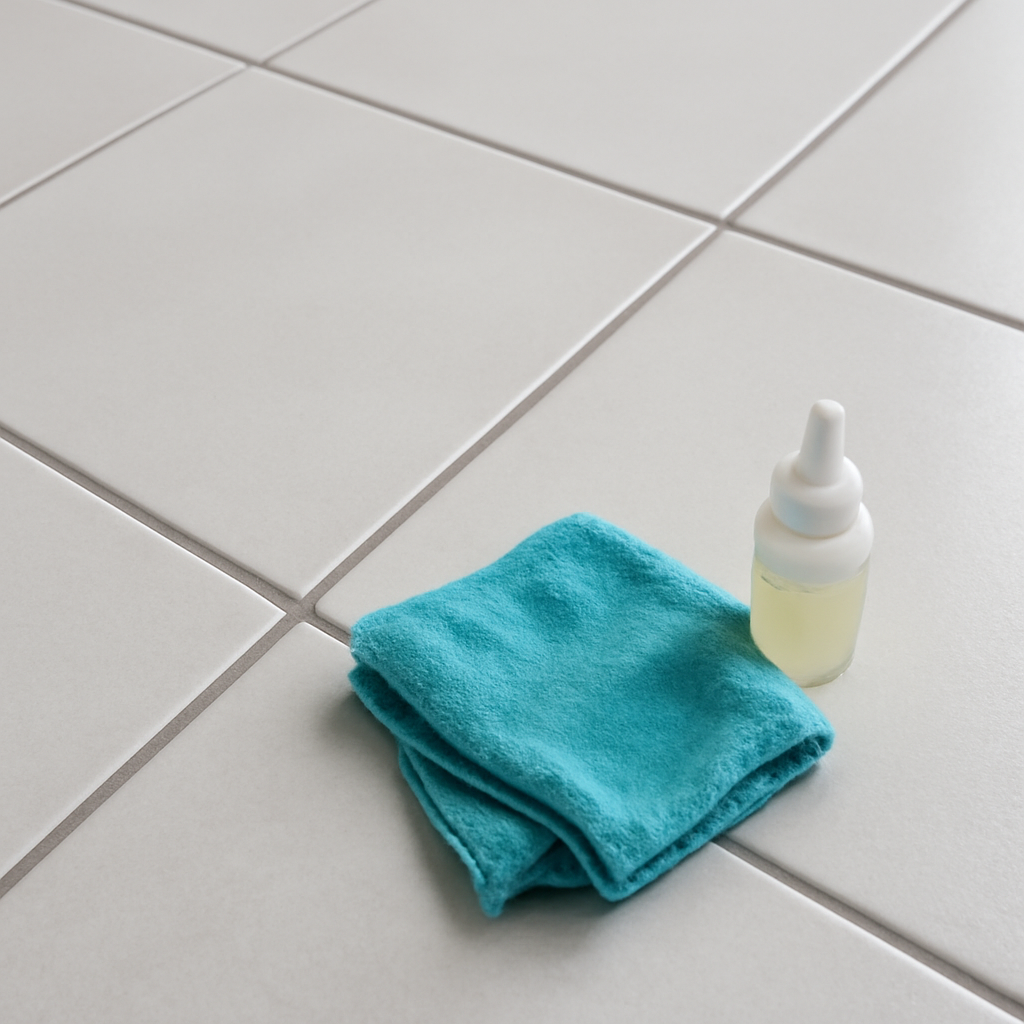
Start by identifying the surface: glazed porcelain and glazed ceramic tile usually tolerate grout-haze remover better than natural stone, cement tile, terrazzo, or unglazed porous tile. Do a small spot test, follow the product label dilution and dwell time, and avoid acidic cleaners on marble, travertine, limestone, cement tile, or other acid-sensitive surfaces unless the label specifically says it is safe. Do not seal grout until haze and cleaner residue are removed and the floor is fully dry.
- Fresh cement haze: use clean water changes, a damp grout sponge, then buff with microfiber.
- Dried cement haze: use a tile-safe grout haze remover and non-scratch white scrub pad.
- Epoxy haze: use an epoxy-grout haze remover; standard acidic cement haze removers may not work.
- Sealer residue or streaks: check the sealer label for re-emulsifying or residue removal directions.
⚠️ Safety First
- Wear rubber gloves and safety goggles when handling chemical cleaners.
- Ensure proper ventilation in the work area to avoid inhaling fumes.
- Keep cleaning products out of reach of children and pets.
- Follow all product label instructions and warnings precisely.
- Avoid using metal scrapers or abrasive pads that can damage tile surfaces.
🛠 What You'll Need for How To Remove Grout Haze From Ceramic Tile
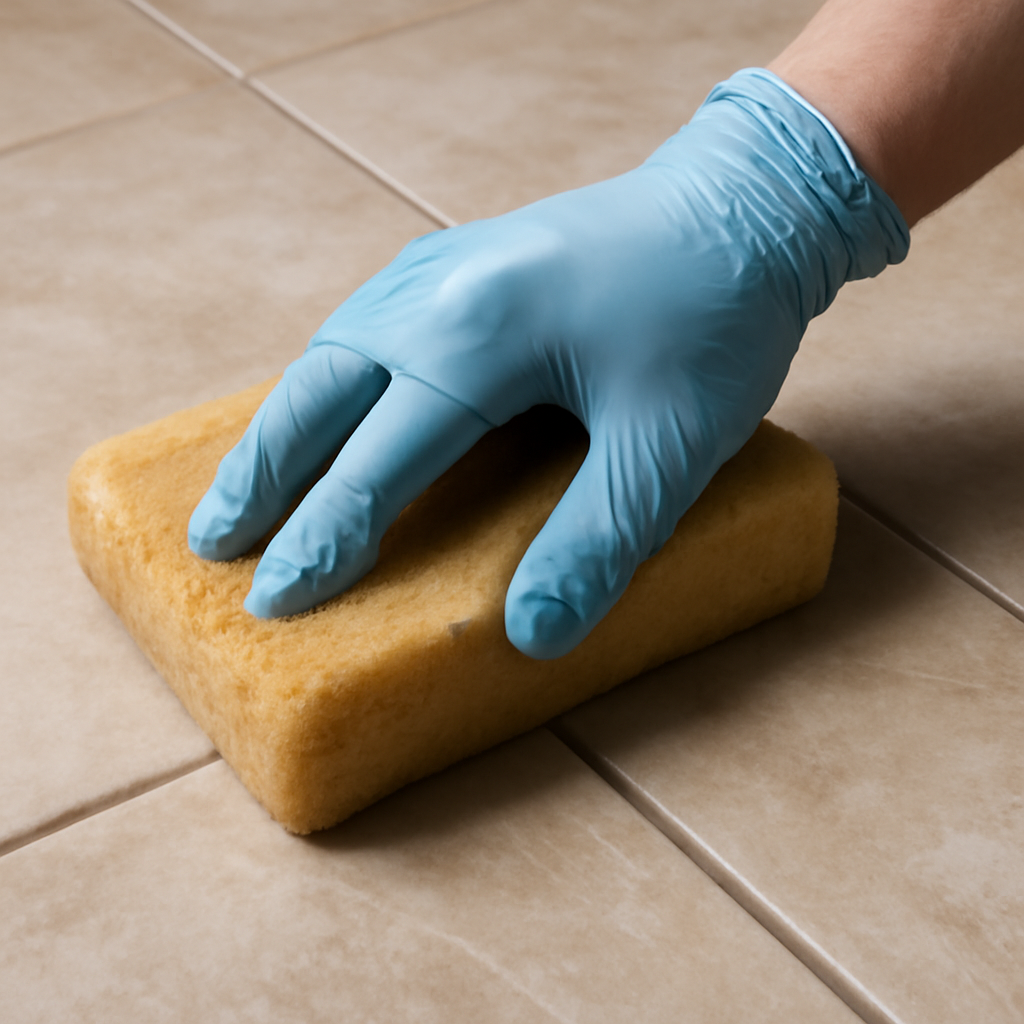
Materials
- PH-neutral tile cleaner — gentle cleaning without damaging tile glaze
- Grout haze remover (acid-based or epoxy-specific) — depending on grout type and haze diagnosis
- Distilled water — for dilution and rinsing to prevent mineral deposits
- Microfiber cloths — for buffing and drying tile surfaces
- Plastic scraper or grout float — to gently remove stubborn haze without scratching
- Protective gloves — to protect skin from chemicals
- Bucket — for mixing cleaning solutions
- Penetrating grout sealer — for cement grout after cleaning and drying
Tools
- Soft-bristle brush — to agitate grout haze without scratching tile
- Spray bottle — for even application of cleaners
- Measuring cup — for accurate dilution of cleaning products
- Rubber gloves — chemical protection during cleaning
- Safety goggles — protect eyes from splashes
- Plastic bucket — mixing and rinsing solutions
Step-by-Step Instructions
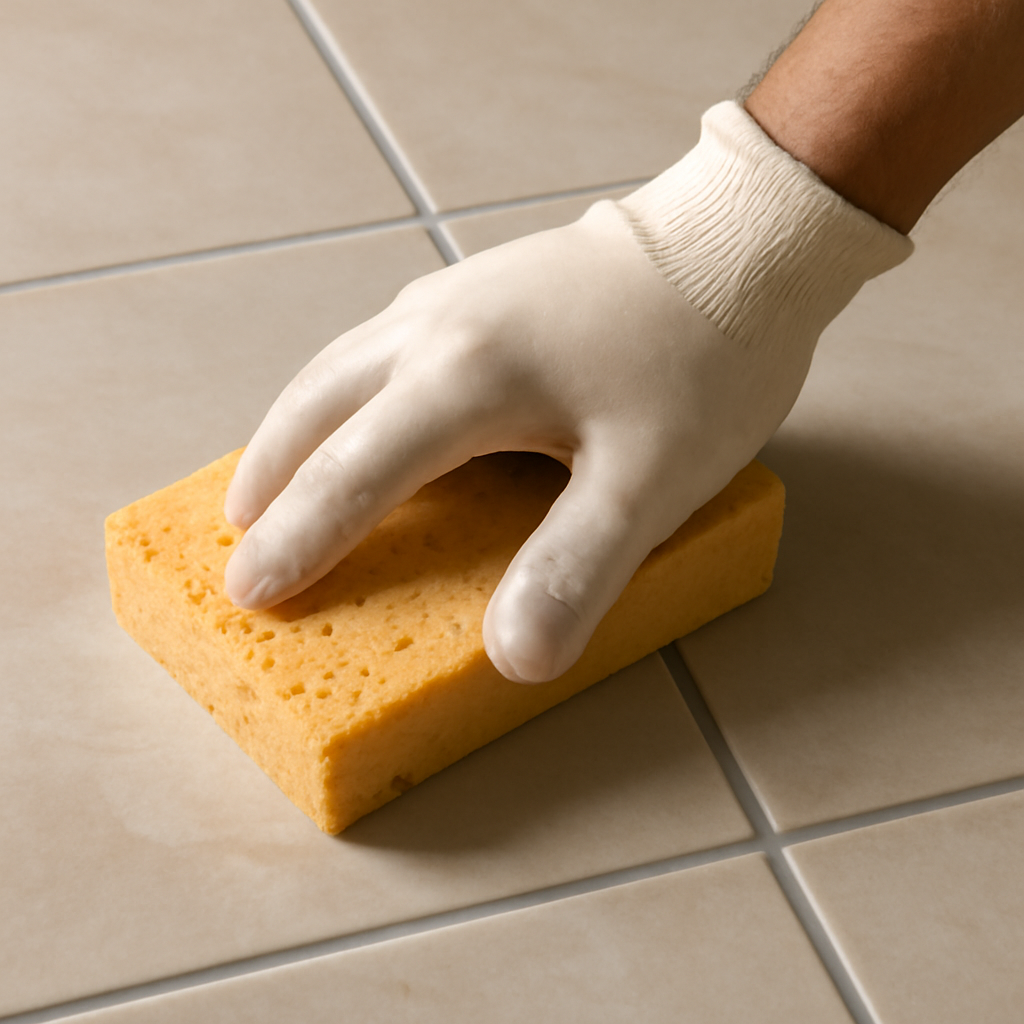
Step 1 Diagnose the Type of Grout Haze ~20 min
Start by identifying the haze type on your ceramic tile. Fresh cement haze is chalky and can be removed with mild acid cleaners. Dried cement haze is tougher and may need stronger acid-based grout haze removers. Epoxy haze is sticky and resistant to acids, requiring specialized epoxy grout haze removers. Sealer haze looks like a cloudy film that may feel slippery, while soap or hard-water films often appear as a filmy residue. Testing a small tile area with a pH-neutral cleaner first helps determine the best approach.
💡 Pro Tip: Wear gloves and test cleaners on a hidden tile spot to avoid damage.
Step 2 Perform Safety Checks and Prepare Workspace ~10 min
Put on rubber gloves and safety goggles before handling any chemical cleaners. Ensure adequate ventilation by opening windows or using fans. Remove furniture and rugs from the area to avoid damage. Cover electrical outlets near tile surfaces to prevent moisture entry.
Step 3 Apply pH-Neutral Cleaner and Rinse ~30 min
Mix the pH-neutral tile cleaner with distilled water as per label instructions, typically 1:10 ratio. Use a spray bottle to evenly apply the solution on the tile. Let it dwell for 5 minutes, then scrub gently with a soft-bristle brush to remove soap scum or light haze. Rinse thoroughly with distilled water to prevent mineral deposits.
💡 Pro Tip: Avoid using vinegar or acidic cleaners on glazed ceramic tiles to prevent etching.
Step 4 Use Specialized Grout Haze Remover ~45 min
If pH-neutral cleaning doesn’t remove the haze, select a grout haze remover based on your diagnosis. For cement-based haze, use an acid-based remover diluted as per product label (usually 1:5 to 1:10). For epoxy haze, use an epoxy grout haze remover specifically designed for resistant residues. Apply with a sponge or spray bottle, allow the recommended dwell time (usually 5–10 minutes), then scrub gently.
💡 Pro Tip: Strictly follow product label instructions on dilution, dwell time, and rinsing to avoid tile damage.
Step 5 Rinse Thoroughly and Buff Dry ~30 min
Rinse the tile surface multiple times with distilled water to remove all residue from grout haze removers. Use clean microfiber cloths to buff the tile dry, removing any remaining film or streaks. Repeat rinsing and buffing if haze persists.
Step 6 Remove Stubborn Residue with Plastic Scraper ~20 min
For dried or stubborn haze, gently use a plastic scraper or grout float at a low angle to lift residue without scratching the tile. Avoid metal tools which can damage the glaze. Follow with a final rinse and buffing.
Step 7 Allow Floor to Fully Dry Before Sealing ~30 min
If you have cement-based grout, wait 24–48 hours after cleaning for the floor to completely dry before applying a penetrating grout sealer. Epoxy grout does not require sealing. Apply sealer carefully to avoid excess on tile, which can cause haze. Buff off any sealer residue immediately.
💡 Pro Tip: Check manufacturer instructions for sealer compatibility with sanded vs. unsanded grout.
Common Mistakes to Avoid
- Using acid on marble, travertine, limestone, cement tile, or other acid-sensitive surfaces without a label-approved spot test.
- Scrubbing with colored, metal, or abrasive pads that can scratch tile or stain grout.
- Letting haze remover dry on the tile instead of rinsing and buffing in small sections.
- Sealing grout before haze, cleaner residue, and moisture are fully gone.
💡 Pro Tips & Expert Advice
- Always test cleaners on a small, inconspicuous tile area first to prevent damage.
- Use distilled water for rinsing to avoid mineral deposits that cause additional haze.
- Never mix acid-based cleaners with bleach or ammonia; this creates toxic fumes.
- For epoxy grout haze, only use removers labeled specifically for epoxy to avoid tile damage.
- Buff tile with microfiber cloths after drying to restore shine without scratching.
- Store leftover grout haze remover safely, away from children and pets.
Frequently Asked Questions
- Will a magic eraser remove grout haze?
- Magic erasers can help remove light grout haze or soap scum but are generally ineffective on cement or epoxy grout haze and may dull tile glaze if used aggressively.
- How long should I wait before sealing grout after removing haze?
- Wait at least 24 to 48 hours for the tile and grout to fully dry before applying penetrating grout sealer on cement-based grout. Epoxy grout does not require sealing.
- Can vinegar remove grout haze from ceramic tile?
- Vinegar is acidic and may remove cement grout haze but can etch or dull glazed ceramic tiles, so it’s not recommended. Use pH-neutral cleaners or specialized grout haze removers instead.
- How do I remove epoxy grout haze?
- Epoxy grout haze requires specialized epoxy grout haze removers designed to break down the epoxy residue. Acid-based cleaners will not work and may damage tiles.
- What causes sealer haze and how do I fix it?
- Sealer haze occurs when excess grout sealer is left on tile surfaces and dries cloudy. It can be removed by buffing with microfiber cloths or using a sealer haze remover following manufacturer instructions.
Removing grout haze from ceramic tile can seem daunting, but with the right diagnosis, products, and techniques, you can restore your tile’s clean and shiny look safely and efficiently. Always start with gentle cleaning and escalate to specialized removers only as needed, following product labels closely. Take your time rinsing and drying thoroughly to prevent new haze from forming. By following this step-by-step guide, you’ll avoid common mistakes and confidently tackle grout haze on ceramic tile floors, showers, and bathrooms. Your investment in proper cleaning will keep your tile looking beautiful for years to come.
Sources & Product Label Checks
Use these focused references and product-label checks before removing grout haze. Confirm the residue type, tile type, acid sensitivity, dilution, dwell time, rinse steps, and whether an epoxy-specific remover is required.
Sources & Product Label Checks
- Cement-based grout needs product-specific sealing decisions: TCNA consumer guidance points homeowners back to grout and sealer manufacturer directions because grout type and installation conditions affect maintenance. Identify whether the joint is epoxy or cement-based before buying sealer, then match the label to sanded or unsanded grout and the floor location. Source: Tile Council of North America
- Moisture control is part of grout maintenance: EPA mold guidance emphasizes drying wet areas and correcting moisture problems instead of treating surface cleaning as the only fix. Do not seal over damp grout or recurring leaks; let the floor dry fully and address water intrusion before applying penetrating sealer. Source: U.S. Environmental Protection Agency
- Dense porcelain needs a light sealer application: MAPEI technical guidance treats dense surfaces such as porcelain as surfaces that may accept only a thin coat of penetrating sealer. Apply sealer sparingly on porcelain-adjacent grout, keep it on the grout lines, and wipe residue before it dries into streaks or haze. Source: MAPEI
- Penetrating sealer labels still control the job: CUSTOM describes TileLab Grout & Tile Sealer as a penetrating sealer for grout and tile stain resistance. Use the product label to confirm cement grout compatibility, cure time, coverage, ventilation, cleanup, and porcelain spot-test instructions. Source: CUSTOM Building Products
On Architecture Adrenaline
- How To Seal Grout In Kitchen Tile Floor: Read the full guide
- How To Clean Tile Bathroom Walls: Read the full guide
- How To Recaulk A Shower Corner: Read the full guide
- Black Tile And Grout: Read the full guide
Authoritative Planning References
- Tile Council of North America Consumer Resources - Use TCNA consumer guidance as a tile-system reference point, then follow the grout and sealer manufacturer labels for the exact product on site.
- EPA Mold Cleanup Guidance - Moisture control matters around bathroom floors, showers, and grout joints because persistent dampness can support mold growth.
- MAPEI Applying Sealers Technical Bulletin - Manufacturer guidance for applying penetrating sealers sparingly on dense porcelain and wiping residues during installation.
- CUSTOM TileLab Grout & Tile Sealer - Manufacturer product page for a penetrating grout and tile sealer; always verify current label directions before use.
Shopping Shortlist
For grout-haze cleanup, prioritize tile-safe haze remover, non-scratch white scrub pads, microfiber buffing cloths, pH-neutral cleaner, and epoxy-haze remover only when the residue is epoxy based.
Haze remover
Grout haze remover for ceramic and porcelain tile
Use a label-approved haze remover for cement-based grout residue on glazed ceramic or porcelain tile.
Check tile-type compatibility, acid warnings, dilution, dwell time, and required rinse/buff steps.
Scrub pads
Non-scratch white scrub pads
White non-scratch pads help loosen haze without colored pad transfer or metal abrasion.
Check tile-type compatibility, acid warnings, dilution, dwell time, and required rinse/buff steps.
Buffing cloths
Microfiber cloths for buffing grout haze
Clean microfiber cloths are essential for final buffing before residue dries again.
Check tile-type compatibility, acid warnings, dilution, dwell time, and required rinse/buff steps.
Neutral cleaner
pH-neutral tile and grout cleaner
Use after haze removal and rinsing for safer routine maintenance.
Check tile-type compatibility, acid warnings, dilution, dwell time, and required rinse/buff steps.
