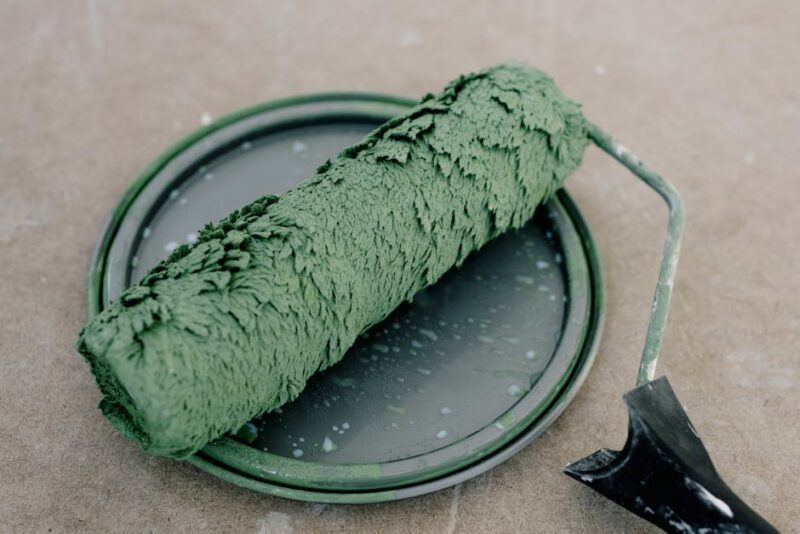
Painting a plastic bathtub can transform an outdated bathroom without the expense of a full renovation. A careful application process can result in a smooth and long-lasting surface. To effectively paint a plastic bathtub, it is essential to use the right materials and follow a systematic approach to ensure both aesthetics and durability.
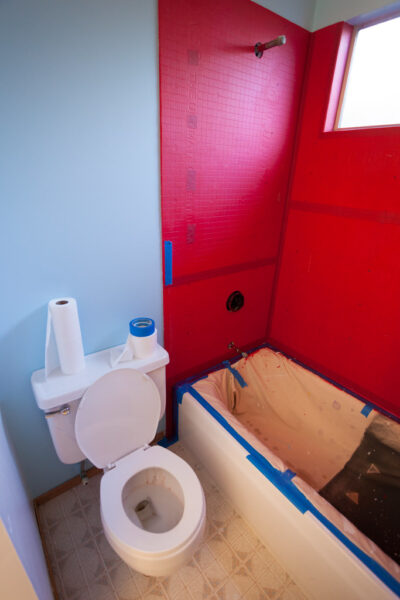
Begin by thoroughly cleaning the bathtub to remove all soap scum, dirt, and oils. A mixture of baking soda and vinegar or a suitable commercial cleaner can be effective. Rinse the surface thoroughly and ensure it is completely dry before proceeding. Next, sand the bathtub's surface using 120-grit sandpaper to create a texture that helps the paint bond effectively. Follow with 220-grit sandpaper for a smoother finish, being diligent but careful to cover the entire surface area. For further guidance on preparation, particularly sanding techniques, you can check this resource.
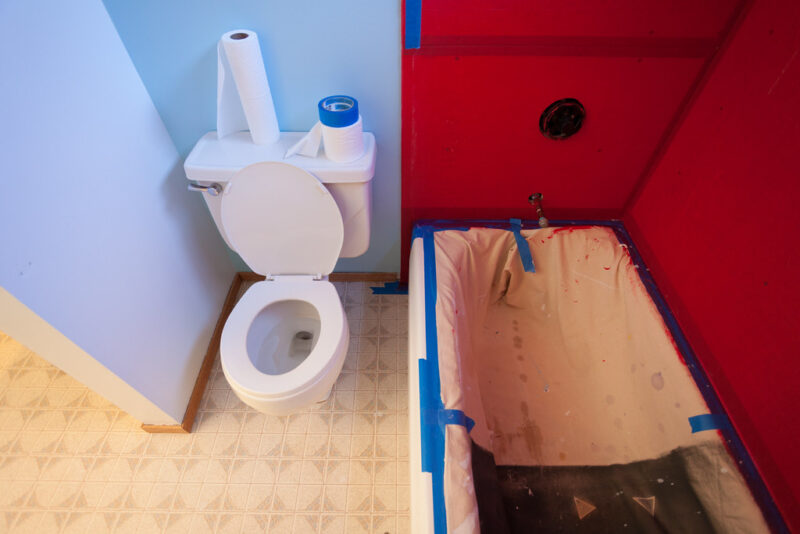
Use painter’s tape to mask off any areas adjacent to the bathtub where you don’t want the paint, such as fixtures, tiles, and the edges of the tub. Proper masking will result in cleaner lines and a more professional look.
Priming the surface of the bathtub before painting can significantly enhance paint adhesion and prevent peeling over time. Apply a thin layer of primer and let it dry according to the manufacturer’s instructions. This step, although optional, is recommended for maximizing the lifespan of the paint application.
After the primer has dried thoroughly, or if you’re skipping the primer, proceed with the paint. Shake the can of your chosen acrylic or epoxy paint well. Use a paintbrush or roller to apply an even coat over the entire surface of the bathtub. For a real-world example and insights on the painting process, refer to this bathroom remodel case study. Often, two coats are needed to achieve full coverage, so allow the first coat to dry completely before applying the second.
Once the final coat of paint is adequately dried, apply a sealer for enhanced durability. A sealer will help guard against chips and maintain the bathtub's appearance over time. Follow the sealer’s application instructions for the best results.
Allow ample time for the painted bathtub to cure. This process might take several days, depending on the specific products and conditions. Avoid use during this period to ensure a lasting finish. Be cautious of safety and avoid harmful chemicals during this process, as highlighted in this safety guidelines article.
Revitalizing a plastic bathtub with a fresh coat of paint is a cost-effective way to enhance your bathroom's look. With careful application and ongoing maintenance, the paint can stay vibrant and intact for years. The right choice of high-quality materials and adherence to these steps will result in a beautifully renewed bathtub that enlivens your space.
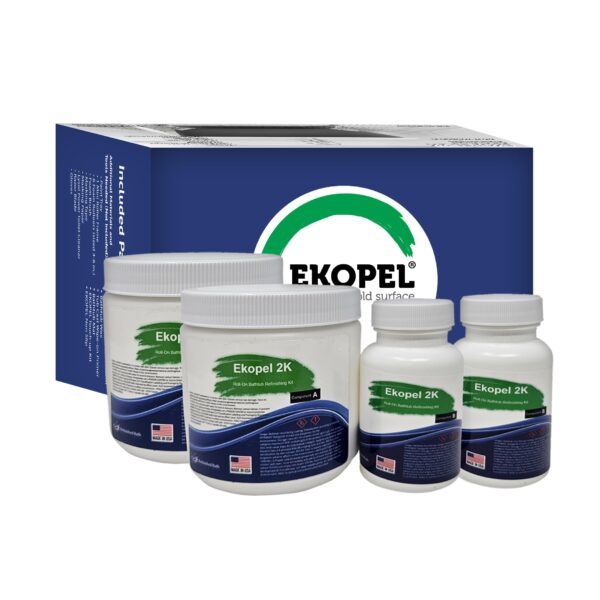
Reviving a tired-looking plastic bathtub can be a daunting project, but with Ekopel Roll Bathtub Tile Refinishing Kit, the task becomes manageable and even enjoyable. The product picture shows a neatly packaged kit that promises a smooth, high-gloss finish, transforming your old tub into a gleaming centerpiece of your bathroom. This odorless, eco-friendly solution is designed for ease of use; simply roll it on to ensure a durable and long-lasting surface. This refinishing kit not only restores beauty but also adds a layer of protection against mold and mildew. Going the DIY route with Ekopel could hardly be more enticing, given its professional-grade materials and the sheer satisfaction of breathing new life into your bathtub without the need for costly replacements.
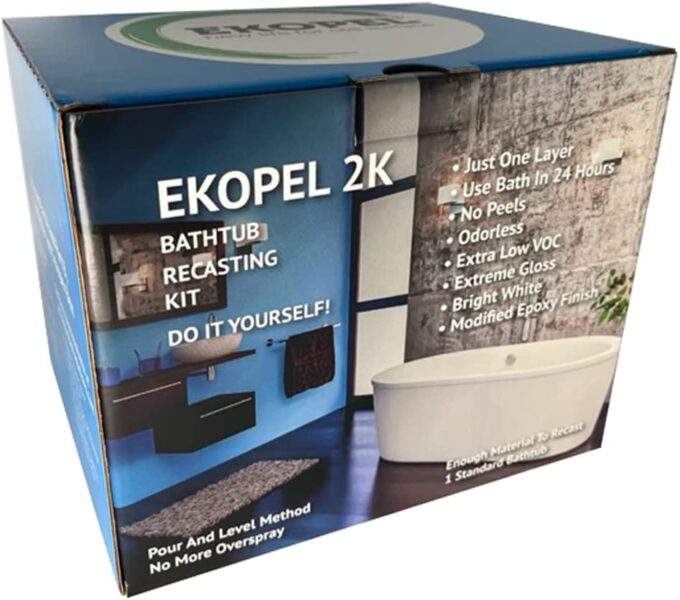
Revitalizing your worn-out plastic bathtub can be a simple DIY project with the Ekopel Bathtub Refinishing Kit. This innovative approach to tub reglazing allows you to achieve a high-quality, durable finish without the typical mess and fumes associated with traditional paint jobs. The Ekopel kit stands out with its ease of application—you need just one layer to create a flawless, glossy white finish that adds elegance to any bathroom. Designed with the user in mind, the product claims to be odorless and boasts an extra-low VOC content, making it a safer option for indoor use. Best of all, you can expect to use your bath in just 24 hours post-application, ensuring minimal downtime in your home routine. Dive into a seamless transformation experience for your bathtub and get professional results with Ekopel Bathtub Refinishing Kit, the efficient and eco-friendly way to rejuvenate your bathtub.
As you embark on your bathtub painting adventure, remember that patience and the right tools will yield incredible results, breathing new life into your bathroom space. We'd love to see how your project turns out or hear about any tips you might have picked up along the way. Let's keep the conversation going! Follow us on Pinterest for more home makeover ideas, and don't forget to check out our latest updates and inspo on Instagram. If you’re more into quick updates, our X (formerly Twitter) feed is buzzing with exciting tidbits. And of course, we’re always here on Facebook to chat with fellow DIY enthusiasts. Happy painting!
