
Floating shelves look simple after they are installed, but the hidden bracket is doing real structural work. Most bad installations fail for predictable reasons: the shelf is mounted only into drywall, the bracket is not level, the anchors are undersized, or the shelf is loaded with heavier objects than the hardware can support. The right process starts with layout and load, not with drilling.
Before buying hardware, decide what the shelf will hold. Decorative ceramics, framed photos, and small plants are a different load than cookbooks, dishes, or stacks of storage baskets. Whenever possible, fasten the bracket into studs. Drywall anchors can help when a stud is not available, but they should not be treated as magic hardware for heavy shelves.
Tools, Materials, And Safety Check
Tools: stud finder, level, drill, drill bits, tape measure, pencil, and driver bit.
Materials: floating shelf kit, stud-rated screws, appropriate wall anchors, and the shelf body.
Safety warning: check for electrical, plumbing, and HVAC lines before drilling. Heavy shelves should be fastened into studs or blocking, not drywall alone.
Step 1: Plan Height, Spacing, And Load

Hold the shelf or template on the wall and judge the height from normal standing and seated positions. For multiple shelves, mark the full group with painter’s tape so the spacing looks intentional before any holes are drilled. Decide the expected load honestly. If the shelf will hold dishes, books, or dense objects, plan for stud attachment and a bracket rated for that load.
The safety test is simple: if you would be nervous standing under the shelf, the installation is not finished. A clean-looking shelf is not a successful shelf unless the hidden support matches the intended load.
Step 2: Find Studs And Check For Hidden Risks

Use a stud finder and confirm suspicious readings with a magnet or tiny pilot hole. Avoid drilling directly above or below outlets, switches, plumbing fixtures, and unknown wall chases. In kitchens and bathrooms, assume there may be more hidden utilities than a blank bedroom wall. If the wall is masonry or tile, use the correct bit and go slowly.
The safety test is simple: if you would be nervous standing under the shelf, the installation is not finished. A clean-looking shelf is not a successful shelf unless the hidden support matches the intended load.
Step 3: Mark The Bracket, Not Just The Shelf
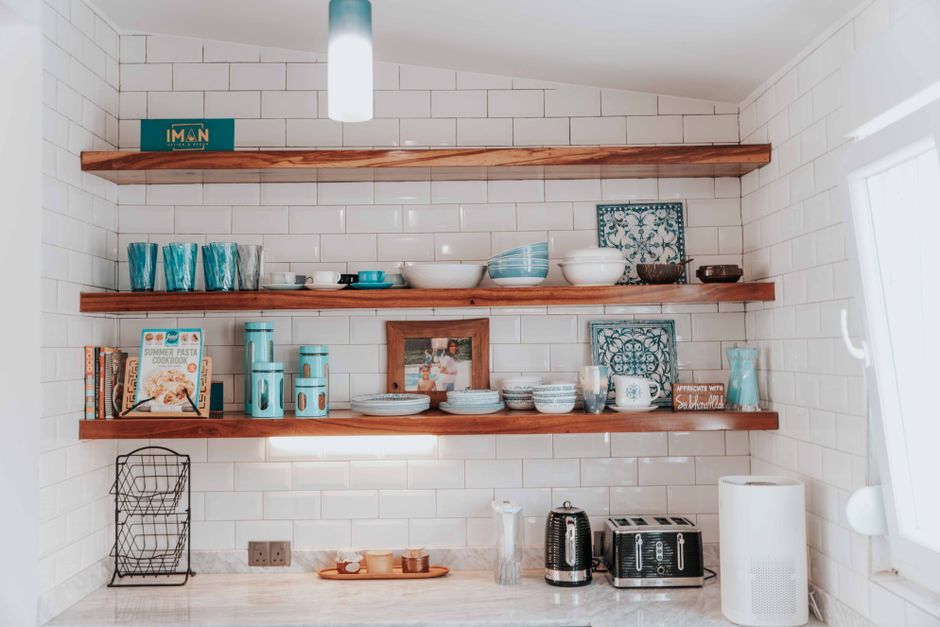
The shelf can only sit level if the bracket is level. Hold the bracket or manufacturer template in place, mark the holes, then check level again from end to end. A small error becomes obvious once the shelf casts a horizontal shadow line. If two shelves stack vertically, use a long level or laser so the group aligns.
The safety test is simple: if you would be nervous standing under the shelf, the installation is not finished. A clean-looking shelf is not a successful shelf unless the hidden support matches the intended load.
Step 4: Drill Pilot Holes Cleanly
Pilot holes keep screws from wandering and help anchors seat properly. Use a bit sized to the fastener, drill straight, and vacuum dust before installing anchors. If the bit suddenly drops into an empty cavity where you expected framing, stop and reassess instead of forcing the screw.
The safety test is simple: if you would be nervous standing under the shelf, the installation is not finished. A clean-looking shelf is not a successful shelf unless the hidden support matches the intended load.
Step 5: Fasten Into Studs Whenever Possible
A stud connection is the most reliable support for floating shelves. Drive the screw firmly without crushing the drywall or bending the bracket. If the bracket layout only catches one stud, use that stud as the primary support and supplement with high-quality anchors rated for the expected load.
The safety test is simple: if you would be nervous standing under the shelf, the installation is not finished. A clean-looking shelf is not a successful shelf unless the hidden support matches the intended load.
Step 6: Use Drywall Anchors Carefully
Choose anchors based on load rating, wall thickness, and whether the shelf creates pull-out force. Toggle-style anchors are often stronger than small plastic plugs, but they still depend on the drywall condition. Old, damaged, or water-softened drywall should not carry heavy shelves.
The safety test is simple: if you would be nervous standing under the shelf, the installation is not finished. A clean-looking shelf is not a successful shelf unless the hidden support matches the intended load.
Step 7: Slide On The Shelf And Lock It Down
Once the bracket is secure, slide the shelf body on and tighten any underside set screws. If the shelf rocks, remove it and correct the bracket rather than hiding the problem with shims. A floating shelf should feel boringly solid before anything decorative is added.
The safety test is simple: if you would be nervous standing under the shelf, the installation is not finished. A clean-looking shelf is not a successful shelf unless the hidden support matches the intended load.
Step 8: Load Test Slowly
Start with light objects, then add weight gradually while watching the bracket and wall. Check after a day and again after a week. If the shelf sags, pulls forward, or makes the drywall bulge, unload it immediately and upgrade the mounting method.
The safety test is simple: if you would be nervous standing under the shelf, the installation is not finished. A clean-looking shelf is not a successful shelf unless the hidden support matches the intended load.
Tools And Hardware Checklist
Use a stud finder or magnet, pencil, painter’s tape, level, drill, pilot bits, driver bit, vacuum, safety glasses, structural screws for studs, and heavy-duty anchors only where studs are not available. Keep the manufacturer’s bracket instructions nearby because floating shelf hardware varies a lot.
For rentals, confirm whether wall penetrations are allowed and photograph the wall before installing. For masonry, tile, plaster, or unusually heavy shelves, use hardware designed for that wall type rather than adapting drywall instructions.
Sources Worth Checking
- Family Handyman shelf installation basics - practical shelf hanging reference
- This Old House floating shelf guidance - useful context on brackets and shelf structure
- Simpson Strong-Tie fastening systems - manufacturer reference for structural fastening concepts
