Cabinet hardware might seem like a small detail, but it plays a huge role in defining the style and functionality of your cabinetry. Whether you’re updating outdated knobs or installing hardware on brand-new cabinets, this guide will empower you to do it right. You’ll find practical advice, clear steps, and styling inspiration to make your installation smooth and successful. Let's dive in and make your cabinets stand out with hardware that complements your design vision.
Before You Start
Installing cabinet hardware involves more than just screwing knobs or pulls onto doors and drawers. It requires accurate measurements, understanding different hardware styles and finishes, selecting appropriate materials, and using the right tools. This guide covers all these aspects, offering you a comprehensive overview before you begin. From choosing between knobs and pulls to deciding on screw lengths and drilling techniques, you’ll be prepared to tackle the project with confidence and precision.
⚠️ Safety First
- Wear safety goggles when drilling to protect your eyes from wood chips.
- Secure cabinet doors or drawers to prevent movement during drilling.
- Use a drill bit appropriate for your cabinet material to avoid damage.
- Keep hands clear of drill bit and screwdriver tips to prevent injury.
🛠 What You'll Need for How To Install Cabinet Hardware
Materials
- Cabinet knobs or pulls — your chosen style and finish to match your design
- Mounting screws — usually included with hardware, ensure correct length for cabinet thickness
- Wood filler or touch-up markers — to fix any installation mistakes or fill old holes
- Measuring tape or ruler — for precise placement
- Painter’s tape — helps mark drill points without damaging surfaces
Tools
- Drill with drill bits — use a bit slightly smaller than screw diameter for pilot holes
- Screwdriver — manual or electric, to secure screws without stripping
- Level — ensures hardware is installed straight
- Center punch or awl — for marking drill points to prevent bit slipping
- Pencil — for marking measurements
Step-by-Step Instructions
Step 1 Choose Your Hardware and Gather Materials ~15 min
Select cabinet knobs or pulls that complement your space’s style and finish. Measure your cabinet door or drawer thickness to ensure screws will fit properly. Gather all materials and tools listed to have everything ready before you start.
Step 2 Mark Hardware Placement Accurately ~30 min
Use a measuring tape and pencil to mark the exact placement for each knob or pull. For drawers, center the hardware horizontally and vertically (typically 1.5 to 2 inches from the drawer edge). For cabinet doors, measure 2.5 to 3 inches from the corner where the handle will go. Use painter’s tape to protect the surface and mark drill points with a center punch or awl.
💡 Pro Tip: Consistency is key. Use a template or jig for multiple cabinets to ensure uniform placement.
Step 3 Drill Pilot Holes Carefully ~20 min
Attach a drill bit slightly smaller than the screw diameter and drill pilot holes at your marked points. Drill straight and avoid pushing too hard to prevent splitting the wood. Remove painter’s tape after drilling.
💡 Pro Tip: Start with a smaller bit if unsure, then enlarge the hole gradually.
Step 4 Attach Hardware Securely ~25 min
Insert screws from the inside of the cabinet door or drawer and align hardware on the outside. Tighten screws with a screwdriver until snug but avoid overtightening, which can damage the hardware or cabinet surface.
Step 5 Check Alignment and Make Adjustments ~15 min
Use a level to verify the hardware is installed straight, especially for pulls. If hardware is misaligned, loosen screws and adjust placement slightly before retightening. Fill any old holes or mistakes with wood filler or touch-up markers for a clean finish.
Step 6 Style and Maintain Your Hardware ~15 min
Once installed, clean your hardware with a soft cloth and mild cleaner. Consider how your hardware finishes work with your overall decor and lighting. Regular maintenance will keep your hardware looking fresh and functional for years.
💡 Pro Tips & Expert Advice
- Use a hardware template or jig for perfectly consistent hole placement on multiple cabinets.
- Measure twice and mark carefully to avoid costly mistakes.
- Choose screw length based on cabinet thickness plus hardware base thickness to ensure a secure fit.
- If replacing old hardware, fill and sand previous holes to maintain a clean surface before drilling new ones.
- Consider hardware finish durability—brass ages beautifully, while matte black offers modern, low-maintenance appeal.
Frequently Asked Questions
- Q: How do I know what size screws to use for cabinet hardware?
- A: Measure your cabinet door or drawer thickness and add the hardware base thickness. Choose screws slightly longer than this combined thickness to ensure a secure fit without protruding.
- Q: Can I install cabinet hardware without a drill?
- A: While possible with a screwdriver and pilot hole punch, using a drill ensures more precise holes and easier installation, especially for multiple pieces.
- Q: How do I ensure knobs or pulls are aligned properly?
- A: Use a hardware template or jig, measure carefully, and check alignment with a level before drilling.
- Q: What finishes are best for kitchen cabinet hardware?
- A: Durable finishes like brushed nickel, stainless steel, and matte black resist fingerprints and corrosion, making them ideal for kitchens.
- Q: How do I fix mistakes like misaligned holes?
- A: Fill old holes with wood filler, sand smooth after drying, then carefully mark and drill new holes.
Installing cabinet hardware is an accessible DIY project that instantly updates your space’s look and feel. With accurate measurements, the right tools, and a steady hand, you can achieve professional results that complement your design style. Remember, attention to detail during placement and installation makes all the difference. By following this guide, you’ll not only enhance your cabinets’ functionality but also add a personalized touch that elevates your home’s aesthetic. Get started today and enjoy the satisfaction of a stylish, expertly finished cabinet upgrade.
Design Deep Dives & Resources
Use these references to go deeper on layouts, materials, lighting, safety, and maintenance decisions that matter for this style.
Research-Backed Planning Notes
- Outdoor lighting should have a job: DOE frames outdoor residential lighting around aesthetics, security, and utility, with controls and shielding to reduce waste and glare. Layer low path lights, focused task lights, and shielded accent lights instead of flooding the entire patio with one harsh fixture. Source: U.S. Department of Energy
- Plant choice affects maintenance and longevity: UMN Extension emphasizes function, maintainability, environmental soundness, cost-effectiveness, and visual appeal in sustainable landscape design. Choose plants around sun, soil, mature size, and maintenance tolerance before choosing containers or furniture colors. Source: University of Minnesota Extension
- A good landscape behaves like connected rooms: USU Extension compares landscapes to outdoor rooms with different uses, volumes, circulation paths, and water needs. Use the cover, furniture layout, pavers, screens, and planting edges to define a room rather than scattering decor around the slab. Source: Utah State University Extension
On Architecture Adrenaline
- How To Increase Natural Light In Your Home: Read the full guide
Authoritative Planning References
- Illuminating Engineering Society Standards - Professional lighting reference for terminology, visual comfort, glare, and application-specific lighting practice.
- American Society of Interior Designers - Professional interior design organization for design practice, wellness, sustainability, and industry context.
- International Code Council I-Codes - Use this as a starting point for code families, then verify the code edition adopted by the local building department.
- DOE Energy Saver Lighting Design - Practical guidance for efficient indoor and outdoor lighting layers, controls, glare reduction, and fixture placement.
- University of Minnesota Extension Landscape Design - Extension guidance on site conditions, plant selection, maintenance, function, cost-effectiveness, and visual appeal.
External Inspiration
Editor-Selected Amazon Finds
Use these shopping starting points to compare dimensions, weather ratings, and reviews before buying.
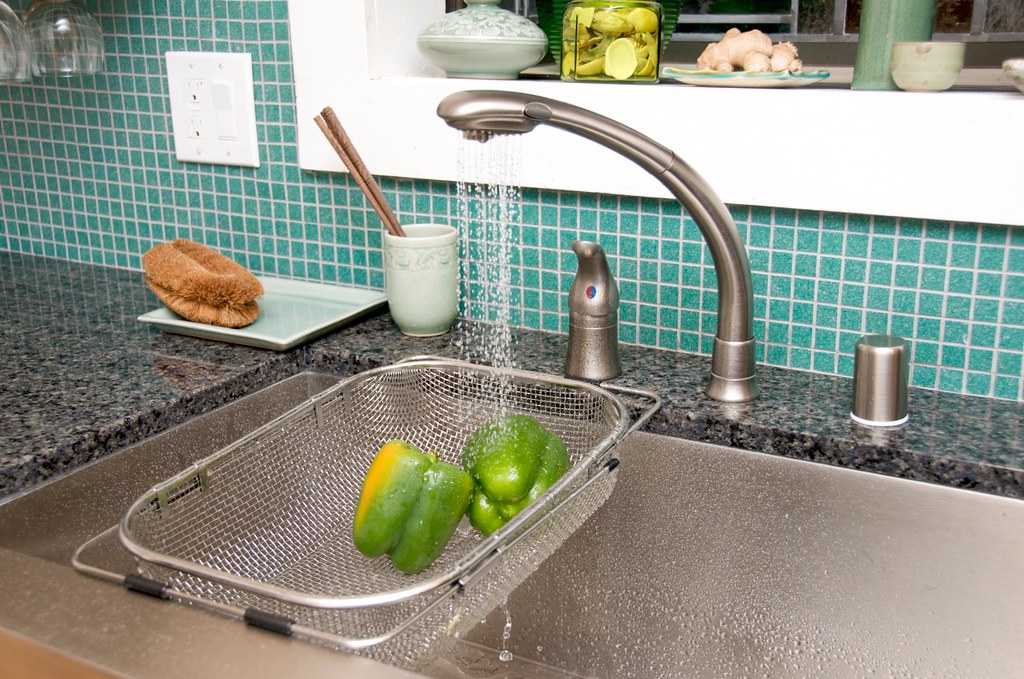
How To Install Cabinet Hardware lighting
Start with lighting because it changes how every finish reads.
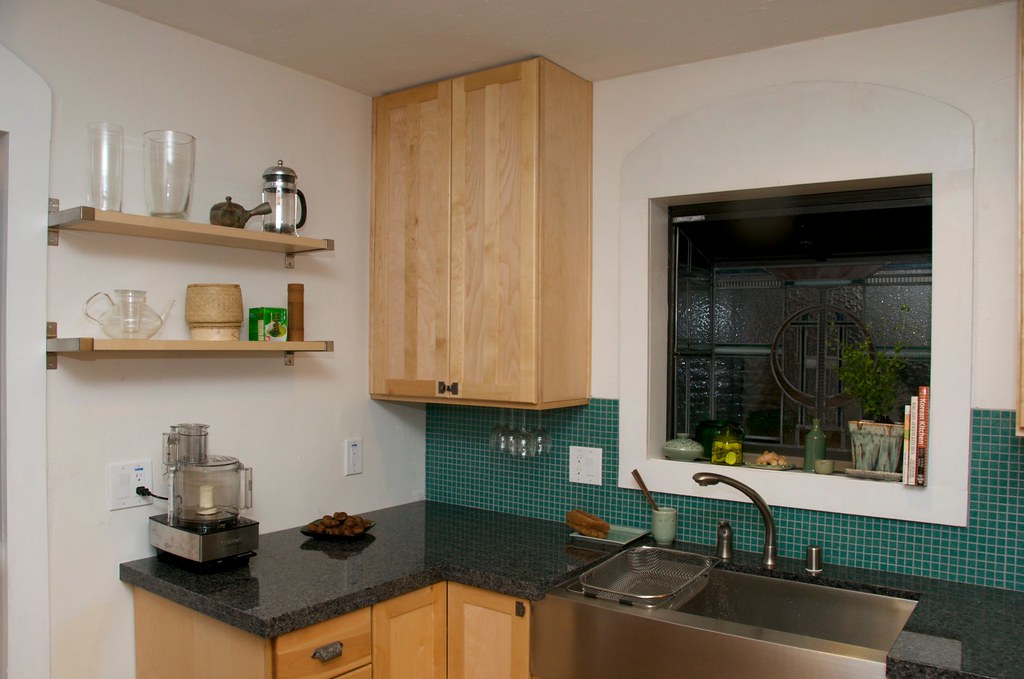
How To Install Cabinet Hardware storage
Keeps the space functional instead of just photogenic.
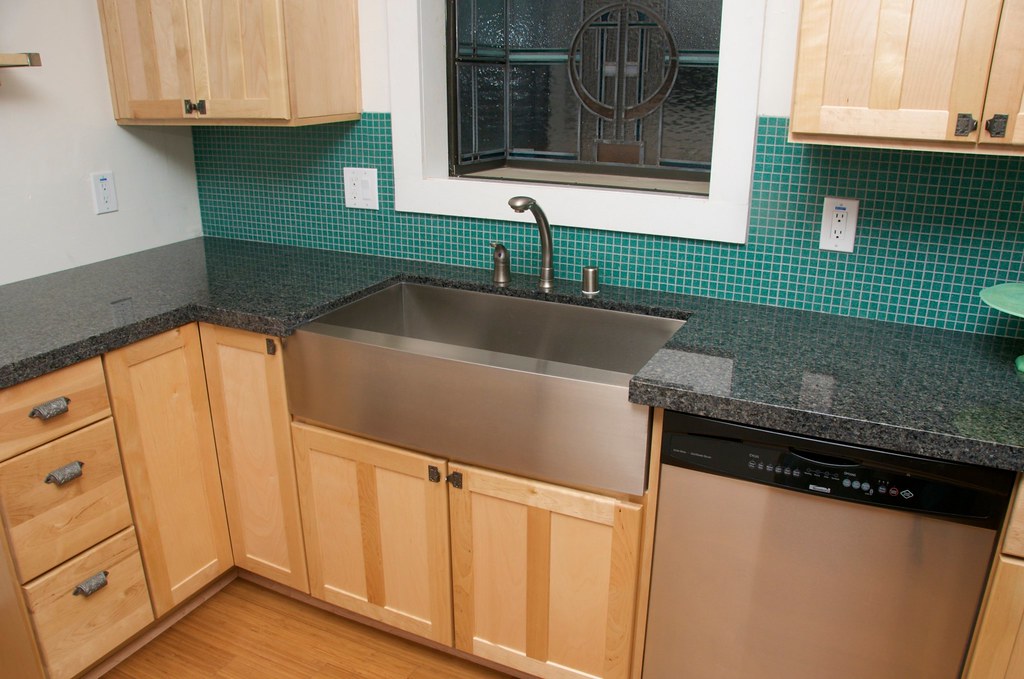
How To Install Cabinet Hardware decor
Use restraint and repeat materials already in the room.
Extra Visual Inspiration