Wood burning, or pyrography, can be a delightful and creative way to add rustic charm and personal touches to your home decor. This unique art form involves burning designs onto wood surfaces using specialized tools, offering endless design possibilities. Whether you are new to wood burning or looking for new ideas to try, this guide provides valuable tips, project suggestions, and techniques to enhance your skills.
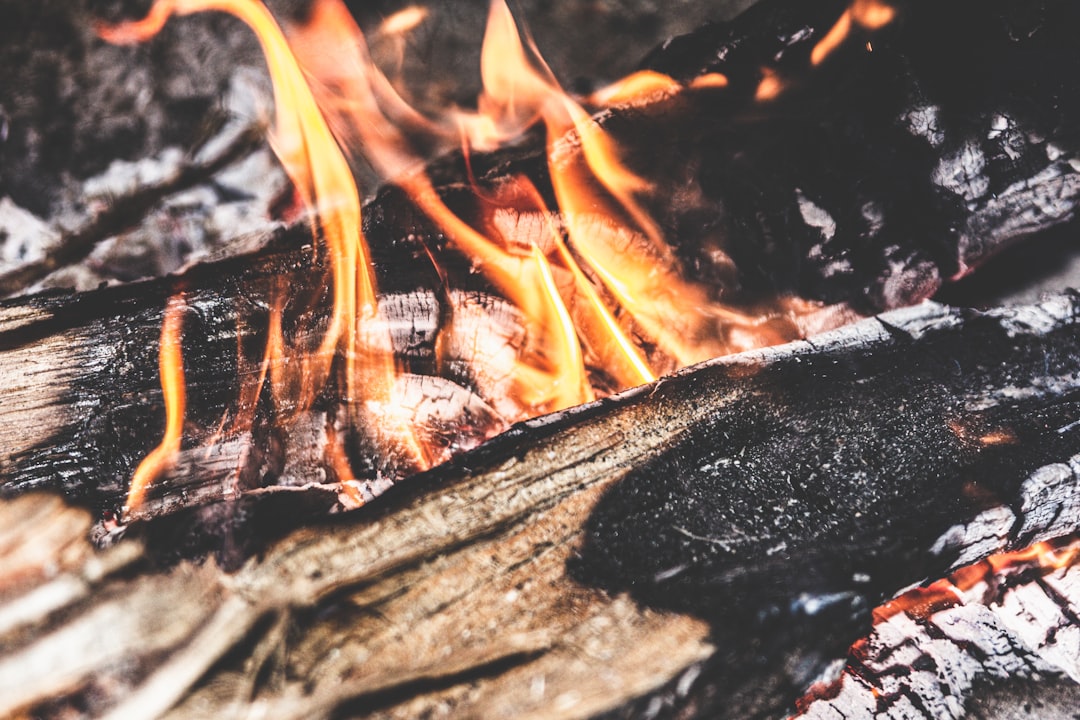
Your wood burning journey starts with selecting the proper tools and materials. The most crucial tool is the wood burner, available in various models and price ranges. A good wood burner will offer adjustable heat settings and interchangeable tips for different effects. For beginners, it's recommended to start with woods like Basswood, Birch, or Poplar, known for their smooth surface and ease of burning.
Wood burning can be used to create a variety of decorative items for your home. Some popular ideas include:
Homemade wood burned items make great gifts, especially during the holiday season. Consider making:
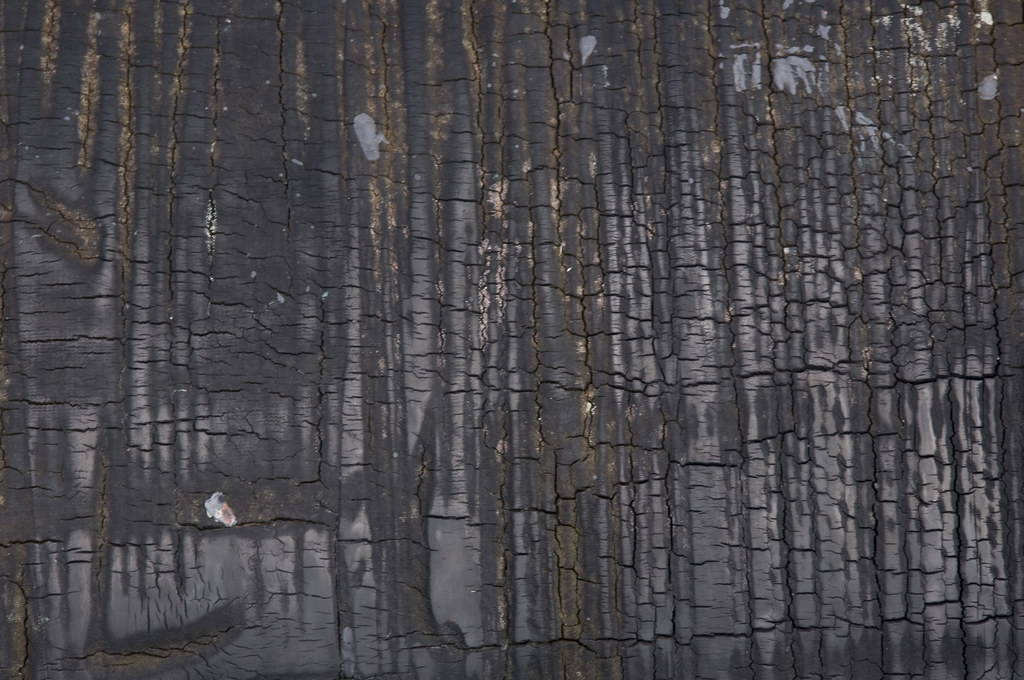
Before diving into your project, it's vital to prep your wood. Sanding the surface will ensure a smooth canvas for your work and improve the adhesion of any sealants you use afterward. Make sure the wood is clean and free from any dirt or oils.
To transfer designs onto wood, you can use carbon paper to trace patterns, or freehand your own design directly onto the wood. For crisp and clean lines, use light pressure and low heat settings. Experiment with various tips to find the ones that best suit your project's requirements.
Mastering different wood burning techniques can elevate the quality of your projects. Some techniques to try include:
Once your design is complete, you may want to seal your project to protect the wood and the burn. Using a natural finish can keep the rustic look intact. Additionally, you can personalize your items further by adding paint, initials, or other decorative elements.
Always prioritize safety when working with wood burning tools. Ensure you are working in a well-ventilated area and follow the tool manufacturer's guidelines. Wear protective gear like gloves and goggles to prevent burns and injuries.
Encouraged by the endless possibilities, wood burning can be an enjoyable and rewarding hobby. With the right tools, materials, and techniques, you can create stunning, personalized pieces that add warmth and character to your home.