
Replacing baseboards is a simple yet rewarding DIY project that can dramatically enhance the look of your home. After recently tackling this project, I found it not only improved my room's aesthetics but also allowed me to put my personal touch into our interior design. Here’s a comprehensive guide on how to replace baseboards like a pro!
1. Understanding Baseboards and Their Importance
Baseboards serve both functional and aesthetic purposes. They cover the gap between the walls and the floor, protecting walls from damage and giving a finished look to a room. Choosing the right baseboard can complement your home's decor.
2. Tools You Will Need
Before you start, gather these essential tools for the job:
- A miter saw or hand saw
- Measuring tape
- Nail gun or hammer and finishing nails
- Pry bar for removing old baseboards
- Caulk and caulking gun for finishing touches
- Paint or stain for finishing

3. The Replacement Process
Now, let’s dive into the step-by-step replacement process:
| Step | Description |
|---|---|
| 1. Remove Old Baseboards | Carefully pry the old baseboards off without damaging the wall using a pry bar. |
| 2. Measure and Cut New Baseboards | Measure your wall and cut the new baseboards to length using a miter saw for angled cuts. |
| 3. Attach New Baseboards | Secure the new baseboards to the wall using nails or a nail gun. |
| 4. Caulk and Paint | Fill any gaps with caulk and paint the baseboards for a finished look. |
4. Handy Tips for a Seamless Installation
To ensure a smooth process, consider these tips:
- Always measure twice before cutting.
- Use a laser level to ensure all baseboards are aligned.
- Don’t rush the finishing touches; take your time with caulking and painting.
5. Product Recommendations
Here are some tools and materials that can help you with your baseboard replacement:
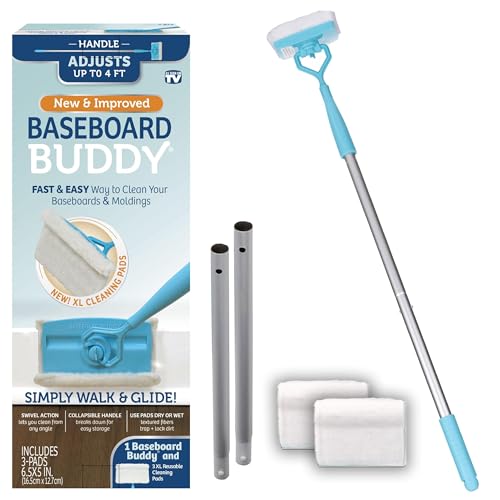
Baseboard Buddy – Baseboard & Molding Cleaning Tool $24.99 Buy on Amazon

Heonay Flexible Baseboard Molding Trim $21.99 Buy on Amazon
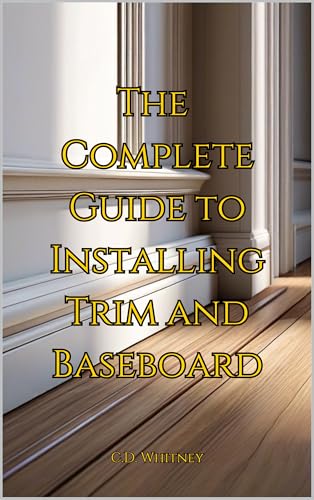
The Complete Guide to Installing Trim and Baseboard $2.99 Buy on Amazon
For more tips on home improvements, check out our article on Replacing Shower Valve Tips, and for ideas on aesthetic finishes, see Painting Baseboards. Discover various styles in our Baseboard Trim Ideas article to find the perfect match for your home.
For further guidance on maintaining your home, visit Replacing Damaged Marble Baseboards, or refer to the educational resource Cleaning and Repairing Flood-Damaged Walls for insights on dealing with older properties.
