Installing battery powered under cabinet lighting is a smart way to add functional and stylish illumination to your kitchen or workspace without the hassle of electrical wiring. Whether you’re a homeowner wanting a quick upgrade, a remodeler looking for flexible lighting options, or an interior design enthusiast seeking inspiration, this guide walks you through the entire process. You'll learn how to select the right materials, tools, and placement techniques to create beautiful, energy-efficient lighting that complements your décor.
Before You Start
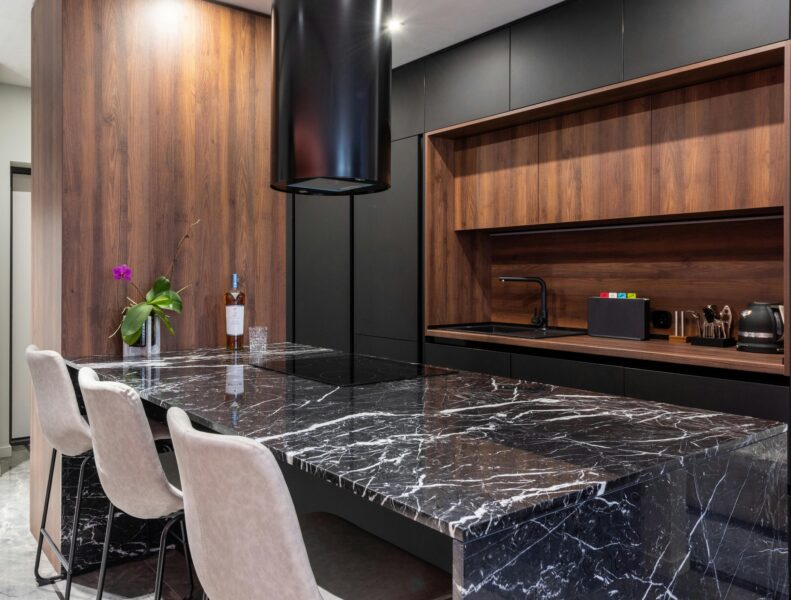
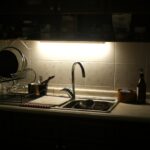
Battery powered under cabinet lighting offers a versatile solution to brighten up dark spaces under your cabinets or shelves without complex installation. These lights are wireless, easy to install, and come in various styles including puck lights, strip lights, and bars. This guide covers the materials needed, tool recommendations, and step-by-step instructions to help you install lighting with precision and style. You'll also find practical styling tips to enhance your space visually while improving functionality. Whether you want ambient glow or targeted task lighting, this method is beginner-friendly and adaptable to any room.
⚠️ Safety First
- Always use batteries recommended by the manufacturer to avoid leaks or damage.
- Do not mix old and new batteries to prevent malfunction.
- Avoid placing lights near heat sources to prevent overheating.
- Ensure all lights are securely mounted to prevent falling and potential injury.
🛠 What You'll Need for How To Install Battery Powered Under Cabinet Lighting
Materials
- Battery Powered LED Puck Lights or Strip Lights — primary source of under cabinet illumination; choose LED for energy efficiency and longer battery life
- Double-Sided Adhesive Tape or Mounting Brackets — secure lights firmly under cabinets without damaging surfaces
- AA or AAA Batteries (as specified) — power source; ensure you have extras for replacement
- Remote Control or Touch Switch Lights — convenient on/off and brightness adjustment options
- Wire Clips or Cable Management Strips — organize and hide any wires from remote sensors or switch connections
Tools
- Measuring Tape — measure cabinet length and spacing for even light placement
- Level — ensure lights are mounted straight for a professional finish
- Cleaning Cloth and Mild Cleaner — prep surfaces to improve adhesive bond
- Pencil — mark mounting points accurately
- Small Screwdriver — for installing mounting brackets if applicable
Step-by-Step Instructions
Step 1 Plan Your Lighting Layout ~30 min
Measure the length of your cabinet underside using a measuring tape. Decide where you want to place the lights for optimal coverage, typically spacing puck lights every 12 to 18 inches or cutting LED strip lights to fit. Sketch your layout and mark mounting points lightly with a pencil.
💡 Pro Tip: Consider areas that need more task lighting like near sinks or stove tops.
Step 2 Clean the Mounting Surface ~15 min
Thoroughly clean the underside of your cabinets with a mild cleaner and a lint-free cloth to remove grease, dust, and dirt. A clean surface ensures better adhesion for tape or mounting brackets.
Step 3 Attach Mounting Hardware or Adhesive ~30 min
If your lights come with double-sided adhesive tape, peel and apply it to the back of each light. For puck lights with mounting brackets, use a small screwdriver to attach brackets securely at marked points. Ensure everything is level and aligned.
💡 Pro Tip: Press firmly for 30 seconds to maximize adhesive strength.
Step 4 Install Batteries and Insert Lights ~15 min
Open the battery compartments of each light and insert fresh batteries according to the polarity markings. Place the lights onto their mounting points, securing them with adhesive or brackets.
Step 5 Organize and Conceal Wires ~20 min
If your lights use remote sensors or connectors with short wires, use wire clips or cable management strips to neatly route and hide cables along the cabinet underside or back walls.
Step 6 Test and Adjust Lighting ~20 min
Turn on your lights using the remote control or built-in switches. Check for even light distribution and make any necessary adjustments to positioning. Replace batteries as needed to maintain brightness.
💡 Pro Tip: Use dimmable lights for customizable ambiance.
💡 Pro Tips & Expert Advice
- Choose LED lights with high lumen output for brighter illumination without draining batteries quickly.
- Opt for rechargeable battery-powered lights to save money and reduce waste over time.
- Use warm white LEDs (2700K–3000K) for a cozy ambiance or cool white (4000K–5000K) for task lighting.
- Consider motion sensor lights for hands-free operation in frequently used areas.
- Test adhesive patches on a small area first to ensure they won’t damage your cabinet finish.
Frequently Asked Questions
- Can I install battery powered under cabinet lights myself?
- Yes, these lights are designed for easy DIY installation without electrical wiring or professional help.
- How long do the batteries typically last?
- Battery life varies by model and usage but averages 20 to 50 hours per set of batteries.
- Are battery powered lights bright enough for cooking tasks?
- Many LED battery powered lights provide sufficient brightness for most kitchen tasks, especially when spaced evenly.
- Can I use rechargeable batteries with these lights?
- Yes, rechargeable batteries are often compatible and are a cost-effective, eco-friendly choice.
- Will the adhesive damage my cabinets?
- High-quality double-sided tapes are designed to be gentle, but it’s best to test on a small hidden area first.
- Can I control these lights remotely?
- Many models include remote controls or touch switches for convenient on/off and brightness adjustments.
Installing battery powered under cabinet lighting is an affordable, flexible way to enhance your home’s functionality and style without complex wiring. With just a few tools and materials, you can create beautifully illuminated spaces that brighten your daily routines and impress guests. Follow these expert steps, apply practical styling tips, and enjoy the instant transformation that wireless lighting provides. Whether upgrading your kitchen, workspace, or display cabinets, this project is beginner-friendly and highly rewarding.
⚠️ Disclosure: Some links in this guide are affiliate links. Architecture Adrenaline may earn a commission at no extra cost to you.
Design Deep Dives & Resources
Use these references to go deeper on layouts, materials, lighting, safety, and maintenance decisions that matter for this style.
Research-Backed Planning Notes
- Outdoor lighting should have a job: DOE frames outdoor residential lighting around aesthetics, security, and utility, with controls and shielding to reduce waste and glare. Layer low path lights, focused task lights, and shielded accent lights instead of flooding the entire patio with one harsh fixture. Source: U.S. Department of Energy
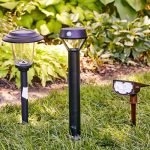
- Solar outdoor lighting is site-sensitive: DOE notes winter operating times for outdoor solar lights can vary by 30 to 50 percent unless the system is sized for winter operation. Place solar panels away from shade and use hardwired or rechargeable task lighting where dependable evening light matters. Source: U.S. Department of Energy
- Plant choice affects maintenance and longevity: UMN Extension emphasizes function, maintainability, environmental soundness, cost-effectiveness, and visual appeal in sustainable landscape design. Choose plants around sun, soil, mature size, and maintenance tolerance before choosing containers or furniture colors. Source: University of Minnesota Extension
- A good landscape behaves like connected rooms: USU Extension compares landscapes to outdoor rooms with different uses, volumes, circulation paths, and water needs. Use the cover, furniture layout, pavers, screens, and planting edges to define a room rather than scattering decor around the slab. Source: Utah State University Extension
On Architecture Adrenaline
- How To Increase Natural Light In Your Home: Read the full guide
Authoritative Planning References
- DOE Energy Saver Lighting Design - Practical guidance for efficient indoor and outdoor lighting layers, controls, glare reduction, and fixture placement.
- Illuminating Engineering Society Standards - Professional lighting reference for terminology, visual comfort, glare, and application-specific lighting practice.
- American Society of Interior Designers - Professional interior design organization for design practice, wellness, sustainability, and industry context.
- International Code Council I-Codes - Use this as a starting point for code families, then verify the code edition adopted by the local building department.
- University of Minnesota Extension Landscape Design - Extension guidance on site conditions, plant selection, maintenance, function, cost-effectiveness, and visual appeal.
External Inspiration
Editor-Selected Amazon Finds
Use these shopping starting points to compare dimensions, weather ratings, and reviews before buying.
Warm outdoor LED string lights
Look for warm color temperature, outdoor rating, and enough length for clean routing.
Outdoor wall sconces
Good for covered patios where glare control and durable fixtures matter.
Dimmable outdoor smart plug
Lets you tune brightness for dinner, reading, or low-key evening ambience.
Extra Visual Inspiration