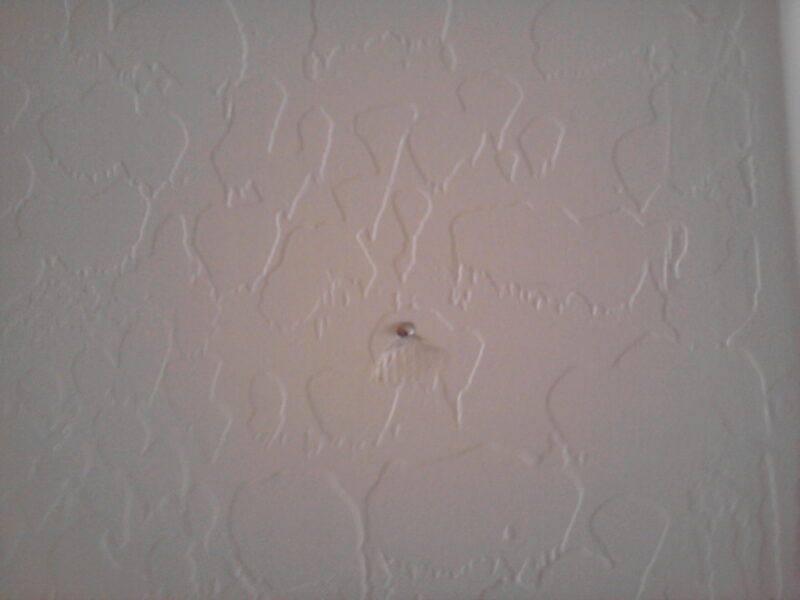
As a homeowner, experiencing drywall nail pops can be frustrating and often concerning. These unsightly bumps disrupt the smooth finish of your walls and can even indicate underlying issues. Having dealt with nail pops in my own home, I’m here to share effective solutions and preventive measures.
What Are Nail Pops?
Nail pops occur when nails embedded in drywall work their way out to the surface, causing small bumps. This can happen due to the natural settling of a house, temperature fluctuations, or humidity changes. Despite their appearance, nail pops typically do not signify serious structural issues.

Common Causes of Nail Pops
Understanding the factors behind nail pops can help in preventing them. Here are some prevalent causes:
- Humidity Changes: Fluctuations in humidity can lead to the expansion and contraction of the drywall, pushing the nails out.
- Improper Installation: If nails are set too close to the edge of the drywall, they are more likely to pop out.
- Loose Framing: When wood framing settles, it can result in nail pops as well.
How to Fix Nail Pops
Fixing nail pops is a straightforward process. Here’s how to do it in just a few steps:
| Steps | Description |
|---|---|
| 1. Inspect the Area | Locate all the nail pops in the affected area. |
| 2. Push the Nail In | Use a hammer to gently push the popped nail back into the drywall. |
| 3. Secure with Screws | Install drywall screws above and below the nail pop for added stability. |
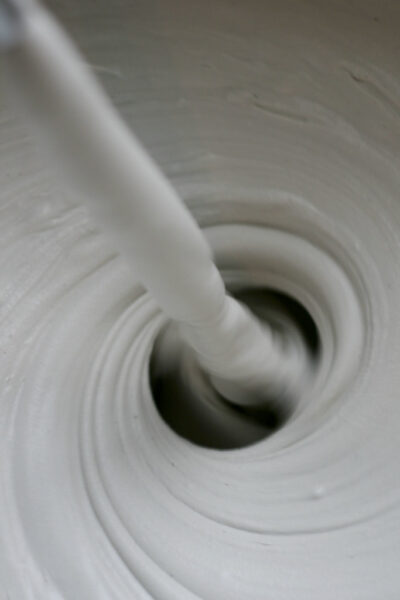
| 4. Patch the Hole | Use spackle or joint compound to patch over the area and sand it smooth. |
| 5. Paint | Once dry, repaint the area to match the surrounding wall. |
Preventing Future Nail Pops
Here are some tips to help you prevent future nail pops:
- Use drywall screws instead of nails as screws are less likely to loosen over time.
- Avoid over-driving the fasteners to prevent damage to the drywall.
- Maintain humidity levels in your home through proper ventilation.
For more detailed repair techniques, check out our guide on How to Repair Drywall and consider reviewing Common Drywall Repair Issues for a comprehensive understanding.