As a DIY enthusiast, I love the idea of making my own roller shades. Not only do they allow for customization, but they are also budget-friendly and easy to install. Here, I’ll walk you through the process of creating your own roller shades, along with design tips and recommendations for the best materials.
1. Choosing the Right Materials
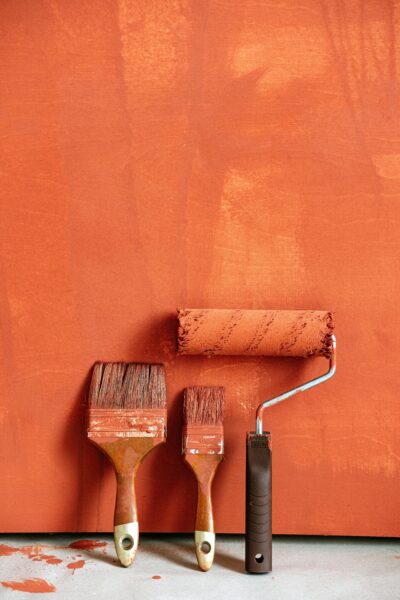
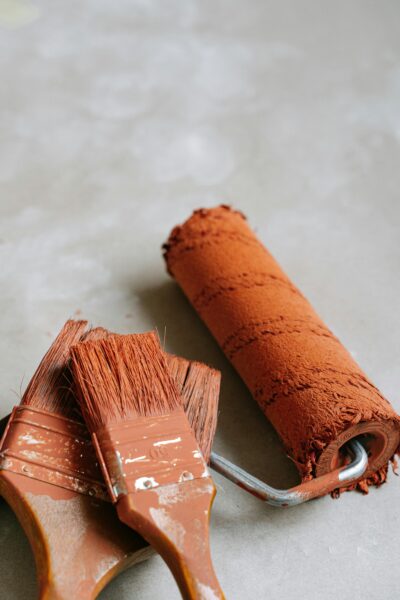
For your DIY roller shades, you’ll need to gather some materials. Here’s a quick list of what you will need:
- Roller shade hardware kit
- Fabric of your choice (blackout or decorative)
- Adhesive or fabric glue
- Scissors and a measuring tape
2. Measuring Your Windows
Accurate measurements are crucial for a successful DIY roller shade project. Measure the width and the height of your window frame to determine the size of the fabric required. Always add a few inches to ensure complete coverage.
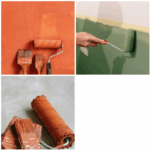
3. Assembling the Roller Shades
Now that you have your materials and measurements, it’s time to assemble your shades. Attach the fabric to the roller using your adhesive as specified in your roller shade hardware kit. Make sure to smooth out wrinkles as you go.
4. Installing Your Shades
Once your roller shades are assembled, follow these steps to install them:
- Fix the brackets to the top of your window frame.
- Secure the roller onto the brackets.
- Test the shades to ensure smooth operation.

5. Tips for a Stylish Finish
To enhance the appearance of your DIY roller shades:
| Tip | Description |
|---|---|
| Choose Bold Patterns | Select fabrics that add character to your space. |
| Layer with Curtains | Use sheer curtains with your roller shades for a layered look. |
| Install at Different Heights | Create a unique aesthetic by hanging shades at varying heights. |
For more inspiration on choosing window treatments, check out our Horizons Window Fashions review and explore how Norman Blinds can complement your DIY efforts. Additionally, you might find useful style tips in our article on Selecting Blinds for Style. To learn more about energy-saving options, visit Energy Efficient Window Coverings and check out this DIY project on DIY Solar Powered Window Blinds.
{"@context":"https://schema.org","@type":"BlogPosting","headline":"Diy Roller Shades: Create Your Custom Window Treatments","url":"https://www.architectureadrenaline.com/diy-roller-shades-create-your-custom-window-treatments/","datePublished":"2025-08-24T23:08:26-07:00","dateModified":"2026-05-15T18:08:52-07:00","author":{"@type":"Person","name":"Justin Ankus","sameAs":["https://www.linkedin.com/in/architectureadrenaline/","https://twitter.com/archiadrenaline"]},"image":{"@type":"ImageObject","url":"https://www.architectureadrenaline.com/wp-content/uploads/2025/08/image-333.png","width":1200,"height":630},"publisher":{"@type":"Organization","name":"Architecture Adrenaline","logo":{"@type":"ImageObject","url":"https://architectureadrenaline.com/wp-content/uploads/logo.png"}},"breadcrumb":{"@type":"BreadcrumbList","itemListElement":[{"@type":"ListItem","position":1,"name":"Home","item":"https://architectureadrenaline.com/"},{"@type":"ListItem","position":2,"name":"Diy Roller Shades: Create Your Custom Window Treatments","item":"https://www.architectureadrenaline.com/diy-roller-shades-create-your-custom-window-treatments/"}]},"mainEntityOfPage":{"@type":"WebPage","@id":"https://www.architectureadrenaline.com/diy-roller-shades-create-your-custom-window-treatments/"}}
{"@context":"https://schema.org","@type":"FAQPage","mainEntity":[{"@type":"Question","name":"1. Choosing the Right Materials","acceptedAnswer":{"@type":"Answer","text":"For your DIY roller shades, you’ll need to gather some materials. Here’s a quick list of what you will need:"}},{"@type":"Question","name":"2. Measuring Your Windows","acceptedAnswer":{"@type":"Answer","text":"Accurate measurements are crucial for a successful DIY roller shade project. Measure the width and the height of your window frame to determine the size of the fabric required. Always add a few inches to ensure complete coverage."}},{"@type":"Question","name":"3. Assembling the Roller Shades","acceptedAnswer":{"@type":"Answer","text":"Now that you have your materials and measurements, it’s time to assemble your shades. Attach the fabric to the roller using your adhesive as specified in your roller shade hardware kit. Make sure to smooth out wrinkles as you go."}},{"@type":"Question","name":"4. Installing Your Shades","acceptedAnswer":{"@type":"Answer","text":"Once your roller shades are assembled, follow these steps to install them:"}},{"@type":"Question","name":"5. Tips for a Stylish Finish","acceptedAnswer":{"@type":"Answer","text":"To enhance the appearance of your DIY roller shades:"}}]}