As a DIY enthusiast, I find joy in transforming my living space, one project at a time. One of the essential skills I've developed is ceiling light wiring. This guide will help you navigate the process from selecting the right materials to understanding the wiring connections. Let's dive into the world of ceiling light wiring!
Understanding Ceiling Light Wiring Basics
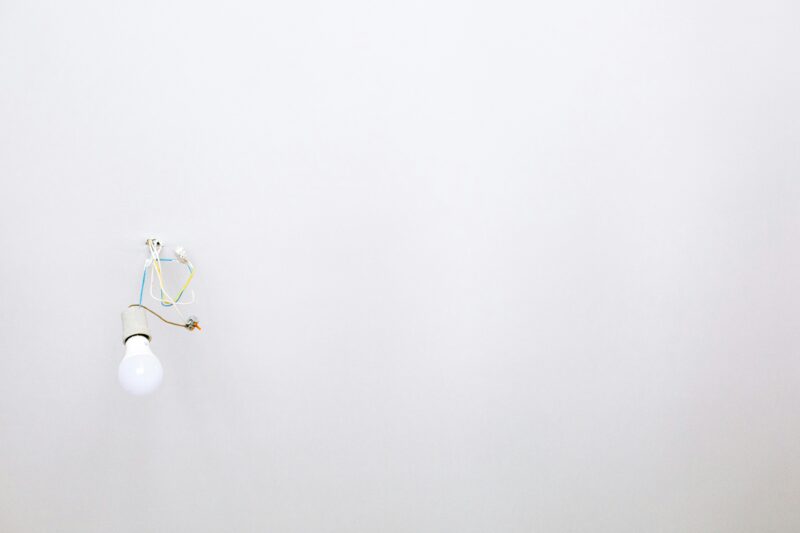
Before diving into the installation, it's crucial to understand the basic components involved in ceiling light wiring. Usually, it includes:
- Electrical box
- Wiring (black, white, and ground copper wires)
- Light fixture
Essential Tools for Ceiling Light Installation
Gathering the right tools before starting your project ensures a smooth process. Here’s a list of essential tools:
| Tool | Purpose |
|---|---|
| Screwdriver | To secure the light fixture to the electrical box |
| Wire Strippers | For stripping insulation from wires |
| Voltage Tester | To ensure there is no power flowing through the wires |
| Electrical Tape | To secure wire connections |
Wiring Your Ceiling Light Fixture
Wiring your ceiling light requires connecting the appropriate wires based on their colors. Here’s a quick overview:
• Connect the black (hot) wires together
• Connect the white (neutral) wires together
• Secure the ground wires (bare or green) to the green screw on the fixture
Common Mistakes to Avoid
During installation, avoid these common mistakes to ensure safety and functionality:
- Forgetting to turn off power at the circuit breaker.
- Improperly connecting wires could lead to a short circuit.
- Not securing wire connections with electrical tape can cause arcing.

For more safety tips when changing light fixtures, see our article on Change Light Fixture Safely. You can also learn about Best Homekit Light Switch for modern wiring solutions.

Consider these additional resources: Air Sealing Electrical Wiring for better insulation practices and Basics of Home Electrical Wiring for more foundational knowledge.