Start your bathroom remodel planning with a clear focus on fixture placement, materials, and practical care. Allocating 30-36 in. for a vanity width ensures enough countertop and storage without crowding other fixtures. Select grout and waterproofing systems carefully, especially around wet zones like showers and tubs, to prevent moisture damage. Layered lighting, combined with glare-free mirror illumination at eye level, elevates daily routines. This article anchors bathroom vanity design in tangible details and real tradeoffs to keep your project on solid ground.
Vanity Sink, Mirror, and Lighting Integration

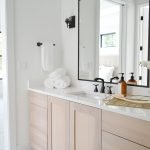
Position the vanity between 30 and 36 in. wide to balance countertop workspace with room for fixtures and storage. Install mirrors with layered lighting: an LED strip behind the mirror’s perimeter and focused sconces at eye height (~60 in. from floor) deliver even, shadow-free illumination. Choose matte or hand-rubbed finishes on vanity cabinetry to resist fingerprints, contrasting with polished brass or gold faucets that add subtle warmth. A tradeoff to consider: wall-mounted lighting can create shadows if placed too high, so precise fixture height matters. Thoughtful lighting setup around the vanity improves morning routines and keeps the bathroom feeling open and bright.
Designing Shower, Tub, and Wet Wall Tile Transitions
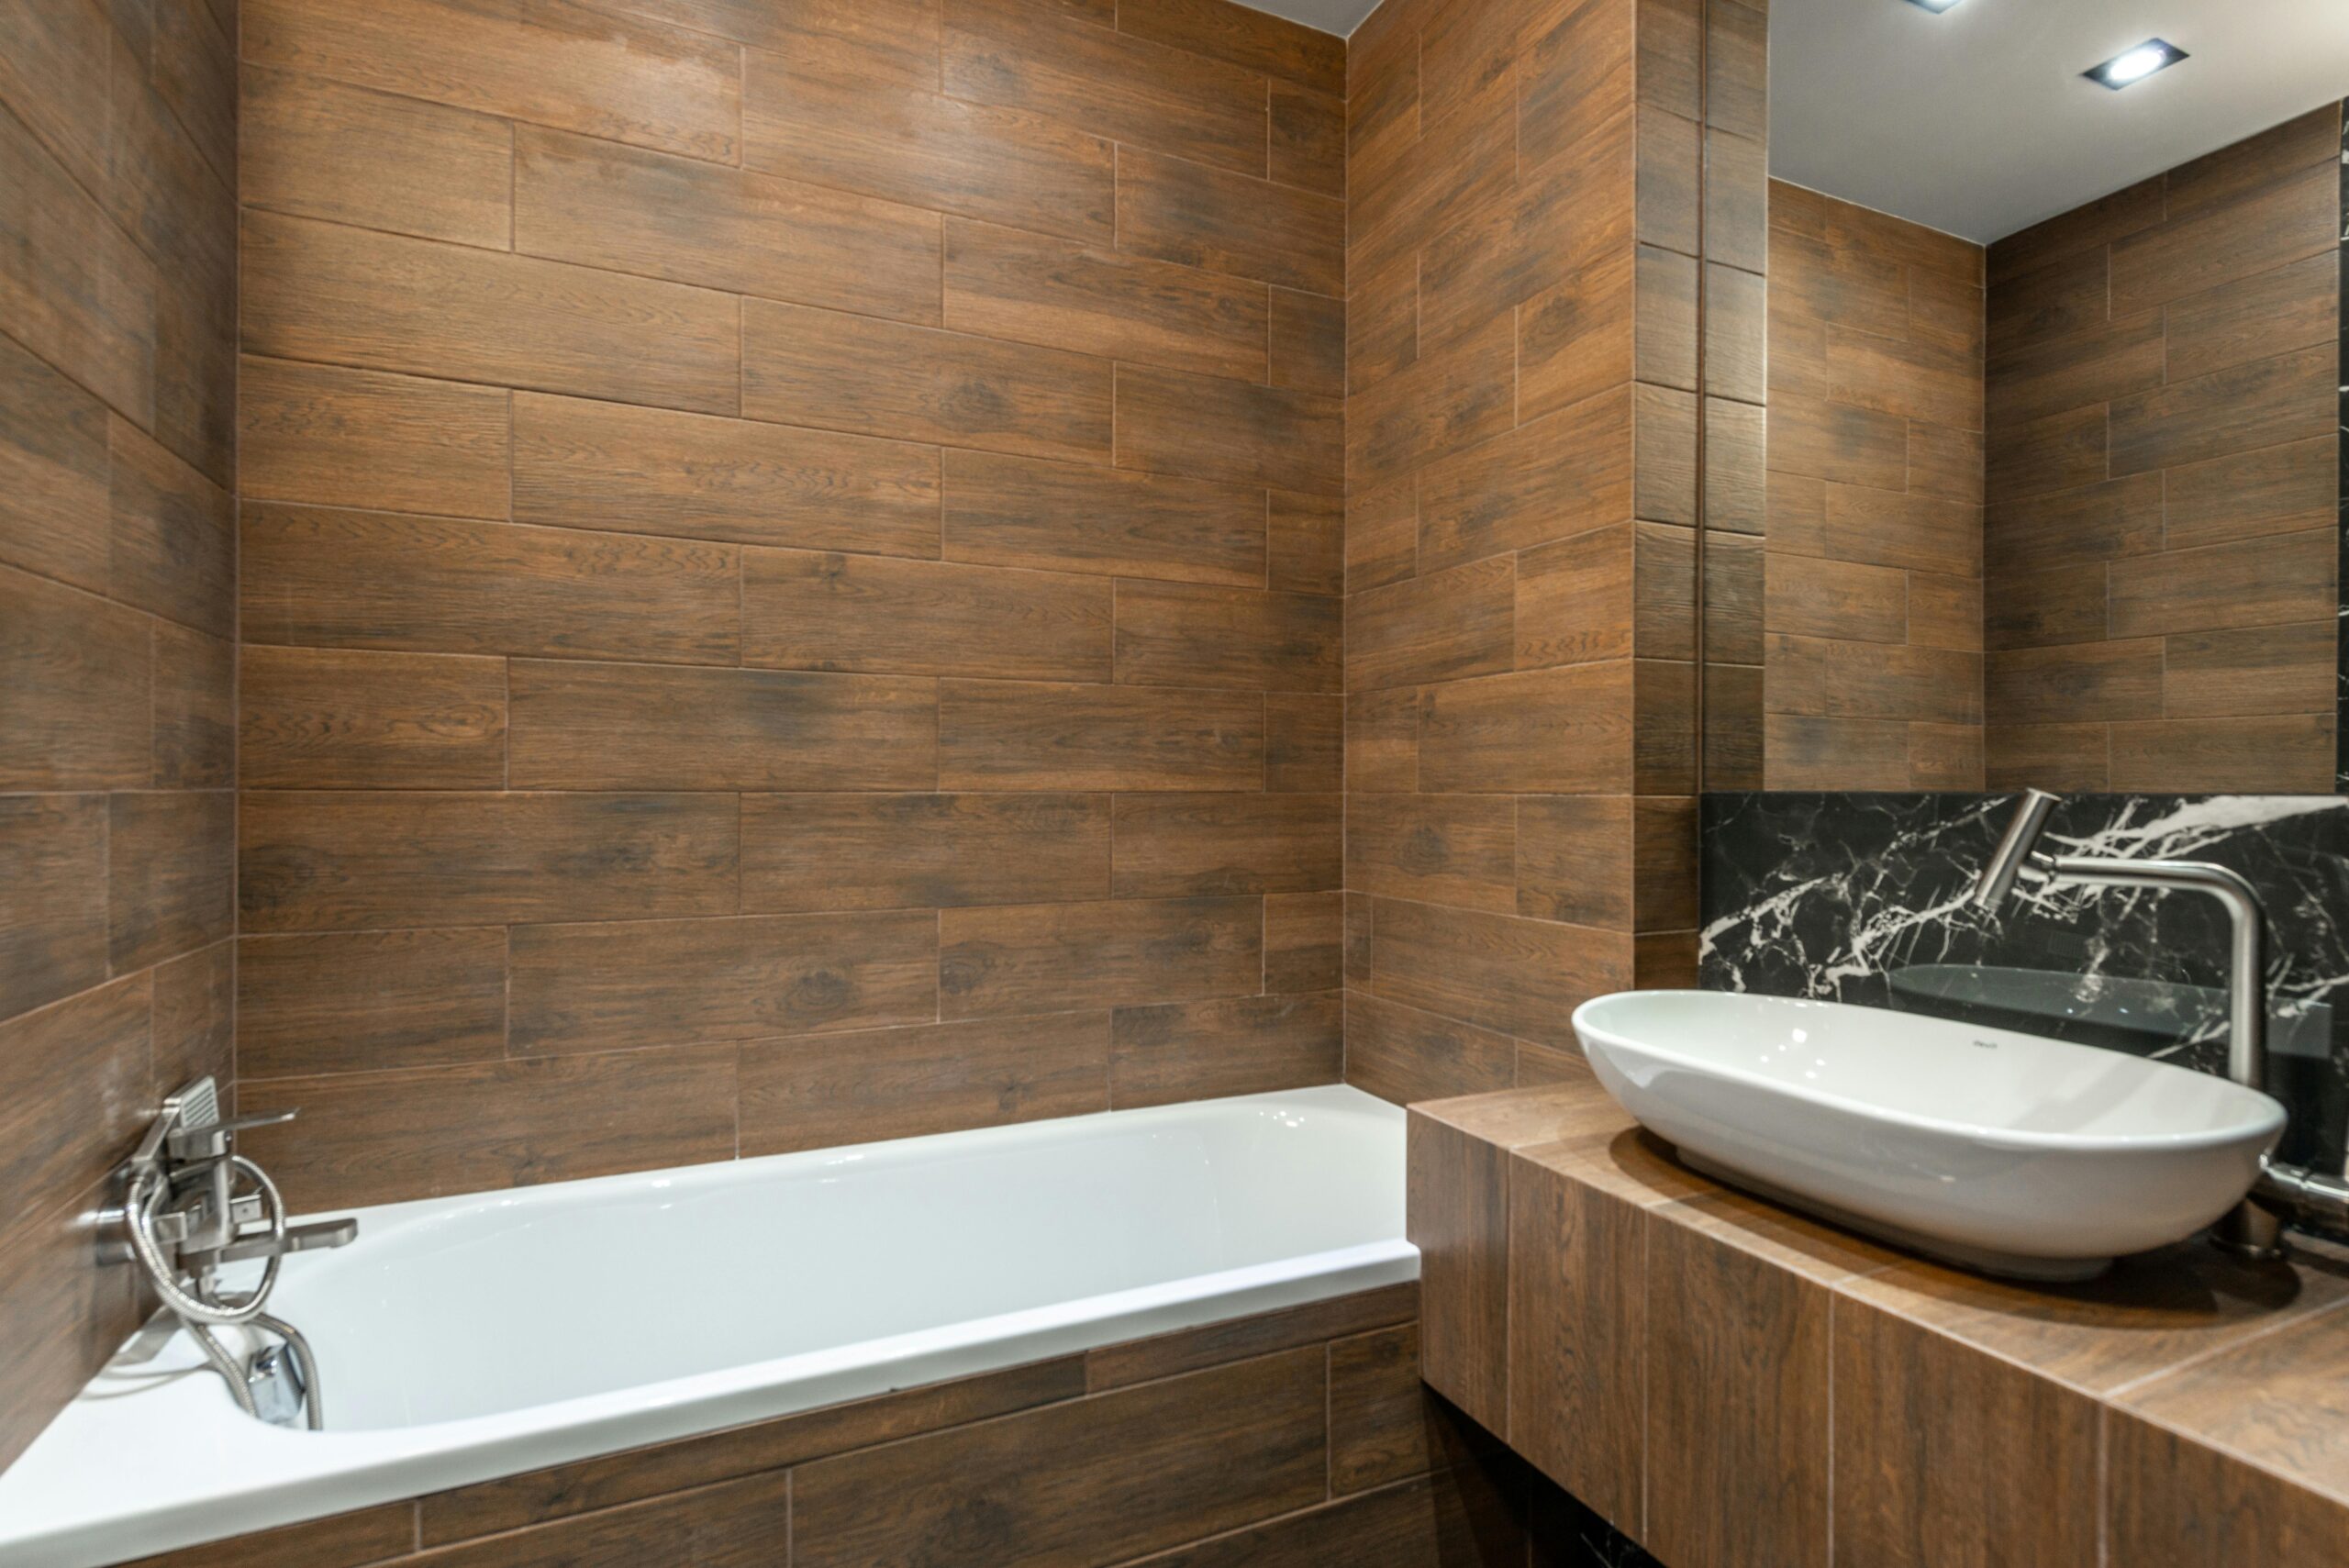
Tile wet walls around tubs and showers with a minimum of 4 in. overlap past fixtures to create dependable water barriers. Large-format tiles reduce grout lines, making cleaning easier and lowering mold risk if sealed properly. Position the tub and shower alcove so that water spray stays within tiled zones, ideally with a 2 ft. clearance from vanity edges to wet areas to avoid moisture damage. One caution is ensuring grout joints are properly sized (1/8 in. to 1/4 in.) for tile type to prevent cracking. Integrating tile transitions between wet and dry zones eloquently manages moisture and defines functional boundaries.
Grout, Caulk, and Waterproofing Precision in Wet Areas

Use epoxy grout combined with silicone caulk in corners and edges to create long-lasting waterproof seals. Plan waterproofing membranes under the tile extending at least 6 in. above wet areas to block vapor infiltration. Caulk joints require periodic reapplication every 3-5 years to maintain integrity, a maintenance detail often overlooked. Choose grout colors that harmonize with tile but highlight joints for visual rhythm in the bathroom. Properly detailed waterproofing strategy limits costly repairs and keeps the vanity and shower materials protected over time.
Toilet and Fixture Clearance Planning for Comfort
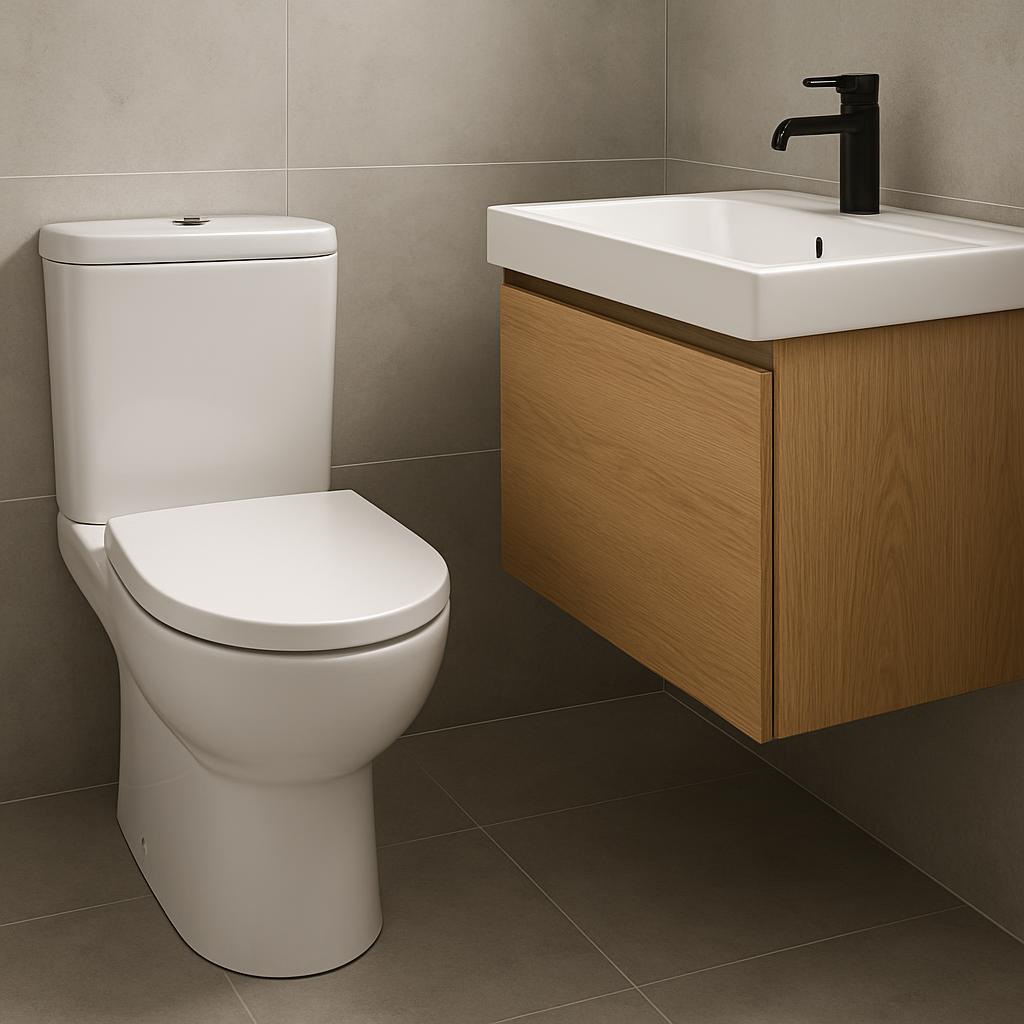
Maintain at least 21 in. clearance in front of the toilet and allow 15 in. from the centerline to side walls or other fixtures to uphold comfort and ADA-inspired standards. Consider fixture depth and door swing paths; a wall-hung or compact toilet can free up floor space adjacent to vanities. Visual separation with a partial wall or glass partition can enhance privacy without shrinking spatial perception. Beware of forcing fixtures too close, as cramped layouts hinder cleaning and long-term usability. Prioritizing fixture clearance optimizes bathroom flow and user comfort.
Maximizing Storage with Niches, Medicine Cabinets, and Linen Solutions

Incorporate recessed niches within tile walls and medicine cabinets recessed into cabinetry for streamlined storage that doesn’t intrude on foot traffic. A linen cabinet with adjustable-depth shelves around 12-16 in. deep keeps towels accessible and organized without bulky profiles. Wood veneer or lacquered finishes resist moisture better than raw wood; choose coatings rated for high humidity. The tradeoff is balancing accessible storage and wall space; oversizing a niche can disrupt waterproofing, so keep niches modest and well-sealed. Efficient storage planning makes daily essentials reachable while maintaining a clean design profile.
Selecting Floor Tile and Slip-Resistant Surfaces for Safety

Install floor tile with a slip-resistant rating of at least R10, using textured porcelain or natural stone tiles sized around 12x24 in. to reduce grout area and provide stable underfoot grip. Slightly bevel grout joints (1/8 in.) and seal grout to mitigate water absorption and staining. Consider warm tile finishes underfoot where permissible to avoid cold surfaces. The cautionary note: excessively textured surfaces, while slip-resistant, complicate cleaning and can accumulate dirt. Selecting floor tiles requires weighing safety, comfort, and maintenance demands for balanced bathroom flooring.
Balancing Ventilation, Daylight, and Privacy with Windows
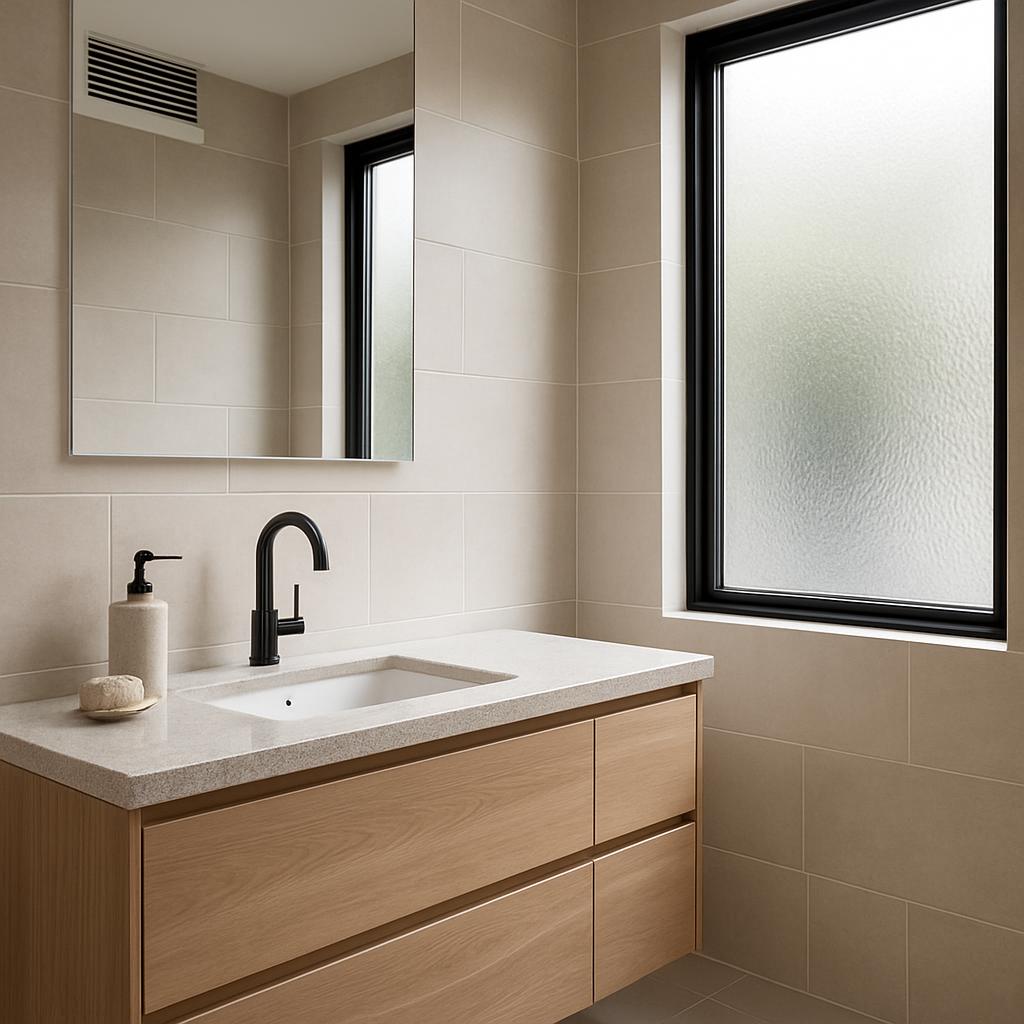
Set operable windows high on walls (around 72 in. above floor) for daylight penetration while preserving privacy. Frosted or textured glass further obscures sightlines without blocking natural light. Mechanical ventilation should provide at least 50 CFM for small bathrooms, integrated with natural airflow if windows are limited. Avoid placing windows directly behind vanities to prevent glare on mirrors. One practical limitation: privacy windows sometimes restrict ventilation options, so consider supplementary exhaust fans. Thoughtful window and ventilation placement nurture a fresh, discreet bathroom atmosphere.
Hardware Choices, Faucet Styles, and Moisture-Resistant Finishes
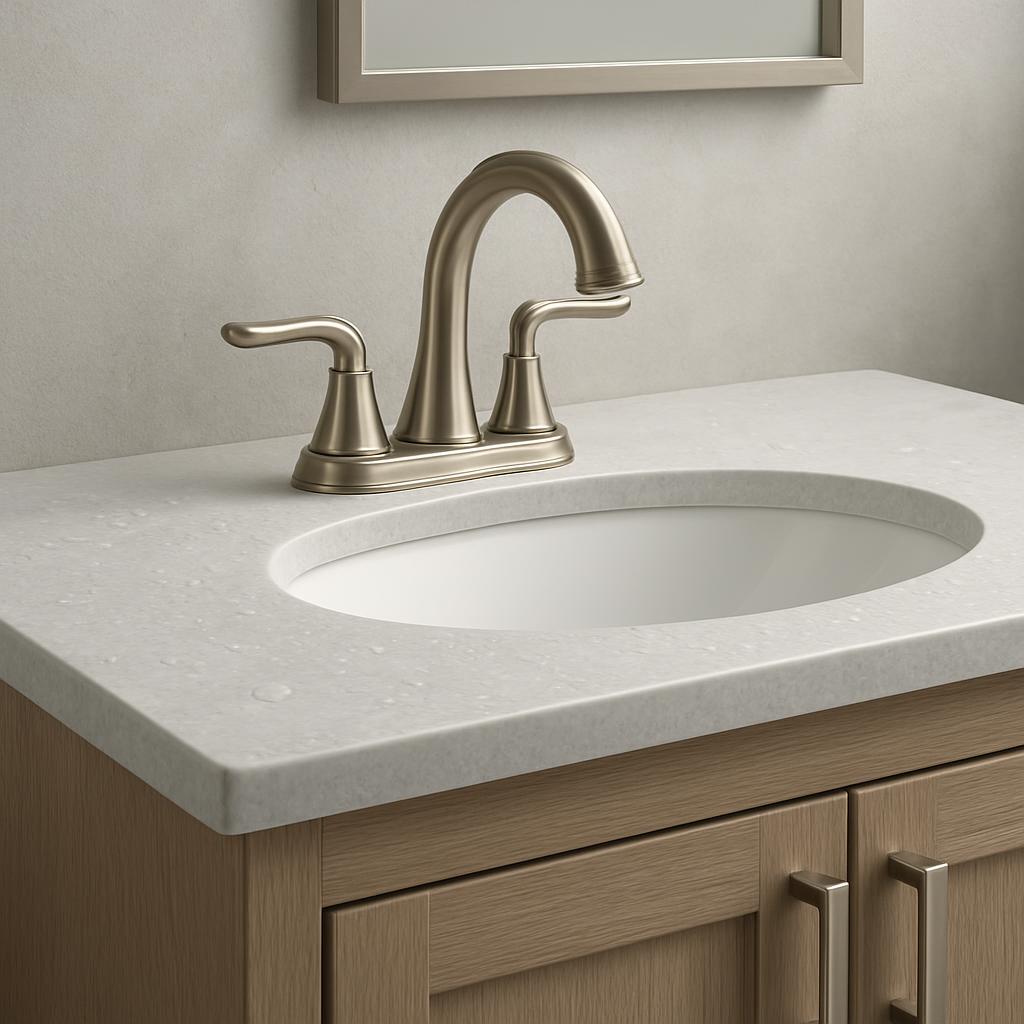
Choose hardware and faucet finishes with certified moisture resistance like brushed nickel or powder-coated metals to withstand bathroom humidity and minimize fingerprint visibility. Wall-mounted faucets 4-6 in. above sinks facilitate easier cleaning around counters and reduce water spots. Solid brass or stainless steel hardware ensures longevity but requires occasional polishing to maintain luster. The tradeoff is balancing finish durability against finish style—some trendy coatings wear faster in moist environments. Opting for practical moisture-resistant fixtures safeguards your vanity’s appearance and usability for years.
Related Architecture Adrenaline Reads
- What is the recommended clearance in front of a bathroom vanity?
- A minimum of 21 inches clearance in front of the vanity is ideal for comfortable access and movement.
- How often should grout and caulk be maintained in a bathroom?
- Caulk joints should be checked and reapplied every 3-5 years to prevent water damage, while grout may need resealing every few years depending on product type.
- What lighting temperature works best around bathroom mirrors?
- Lighting around bathroom mirrors is most effective at a color temperature between 2700K and 3500K to simulate natural daylight and minimize harsh shadows.
Bathroom vanity planning hinges on precise fixture clearances, waterproofing details, and material choices that withstand moisture challenges. Layered lighting around mirrors and practical ventilation strategies maintain functionality and comfort. Thoughtful storage solutions integrate seamlessly without compromising wet area protection. With well-measured clearances and finishes graded for humidity, homeowners and remodelers can create bathrooms that balance beauty with practical durability, reducing common maintenance headaches while elevating daily usability.
For more room-by-room ideas, browse Architecture Adrenaline’s latest design guides and save your favorite looks for your next project.
Further Inspiration Sources
Design Deep Dives & Resources
Use these references to go deeper on layouts, materials, lighting, safety, and maintenance decisions that matter for this style.
Research-Backed Planning Notes
- Plan clearances before finishes: Interior design work is strongest when circulation, door swings, storage depth, and fixture access are resolved before color or styling. Use this as a reason to verify dimensions and maintenance access before copying any visual concept. Source: NKBA
- Lighting quality depends on layers: Ambient, task, and accent lighting solve different problems, and glare control matters as much as fixture style. Use dimming, warm color temperature, and task placement as design constraints, not afterthoughts. Source: IES
On Architecture Adrenaline
- Bathroom Plumbing Repair Cost: Read the full guide
- Small Bathroom Storage Ideas: Read the full guide
- Contemporary Bathroom Design Ideas: Read the full guide
Authoritative Planning References
- American Society of Interior Designers - Professional interior design reference for wellness, sustainability, material choices, and practice context.
- IIDA resources - Interior design practice resources that help ground planning, materials, and workplace/residential design decisions.
- National Kitchen & Bath Association - Kitchen and bath planning reference for fixture clearances, remodel planning, and professional standards.
External Inspiration
Editor-Selected Amazon Finds
Use these shopping starting points to compare dimensions, damp-location ratings, mounting hardware, and review photos before buying.
Vanity light bars
Look for damp-rated fixtures with even face lighting and the right width for your mirror.
Medicine cabinets
Adds storage without widening the vanity footprint.
Drawer organizers
Separates grooming tools, makeup, razors, and daily-use items.
Under-sink organizers
Choose adjustable shelves that work around traps, shutoffs, and supply lines.
Wall-mounted mirrors
Check width, mounting method, and space for sconces or light bars.
Design Inspiration Concepts
These concept images were generated to help visualize the ideas in this guide.

Extra Visual Inspiration