
Choosing between 1/16 and 1/8 grout joints decides whether tile appears nearly seamless or visibly gridded, and it also dictates installer tolerance, grout selection, and maintenance demands.
How Joint Width Changes the Look
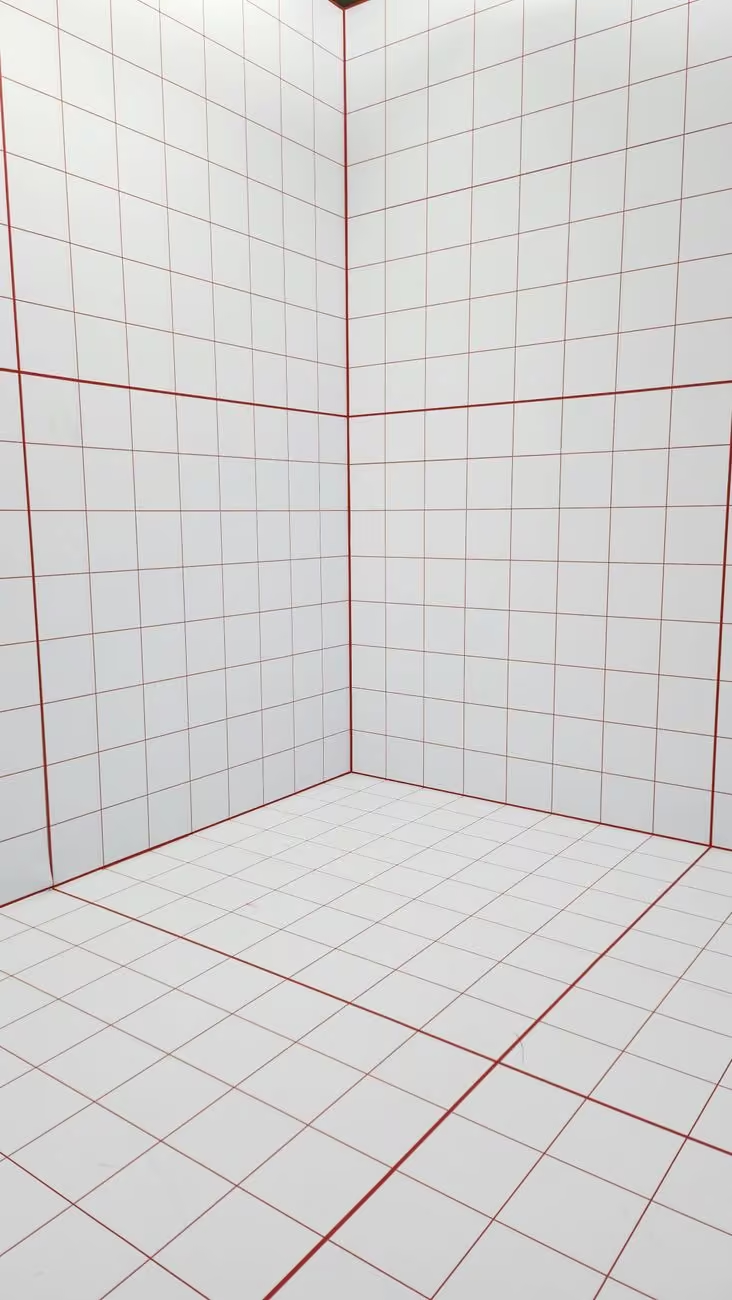
A 1/16-inch joint minimizes visible mortar so the tile face dominates; a 1/8-inch joint creates a clear grid and reduces the visual effect of minor size or edge variation. Narrow joints favor rectified tiles and precise layouts; wider joints make offsets, mixed lots, and slightly warped tiles read cleaner without drawing attention to lippage.
Technical Guidance From Industry Standards
Industry guidance treats 1/16 inch as a practical minimum for many interior ceramic and rectified porcelain installations, while recommending 1/8 inch or larger for non-rectified or large-format tiles to manage dimensional variation. The Tile Council of North America explains basic joint-width concepts and why 1/16 inch is commonly used as a minimum in its grout FAQ, and the TCNA Handbook codifies how variation and tile type affect those recommendations TCNA Handbook 2022 (ANSI TCNA standards).

For industry practice on choosing a specific joint size for rectified versus non-rectified tile, see the manufacturer guidance TB87 grout joint width: what is the right size?. Installers also reference changes summarized in TB100: Changes to the 2017 TCNA Handbook when translating the handbook into jobsite decisions.
Grout Type and Joint Width: Picking the Right Product
Unsanded or fine-aggregate grouts work well up to 1/8 inch; sanded grout controls shrinkage and abrasion above that. For wet rooms or heavy-traffic floors, choose epoxy or high-performance cementitious grouts for stain resistance and durability. Match product technical limits to the chosen joint width and always follow the grout manufacturer’s minimum and maximum joint guidance as stated on tech sheets.
Practical Installation Rules
Tight 1/16-inch joints demand strict flatness and sizing control: use matched spacers, confirm substrate flatness with a 6- to 10-foot straightedge, and employ a tile-leveling system to reduce lippage. For 1/8-inch joints, the layout is less exacting, but maintain consistent mortar bed thickness and back-butter large tiles to prevent hollow spots that later show as movement or cracking.
When to Choose 1/16 Inch
Specify 1/16 inch when tiles are rectified, box counts confirm consistent dimensions, the substrate is within industry flatness tolerances, and the installer can produce mockup panels. Typical applications are interior walls and backsplash fields where a near-seamless plane is the design goal. For a short how-to and common pitfalls specific to narrow joints, see the site’s discussion on narrow grout lines 1/16 Grout Line: Understanding and Best Practices.
When to Choose 1/8 Inch
Use 1/8 inch for floors, showers, mixed-batch tiles, or any work where substrate flatness or tile variation is uncertain. It is the practical default for many porcelain floor installations and for tiles larger than about 15 inches on a side, where the risk of warp or size tolerance producing visible lippage grows.
Tile Size, Pattern, and Lippage Considerations
Smaller tiles typically permit narrower joints because dimensional variation is lower. Patterns that offset joints, such as running-bond, amplify size differences and recommend increasing joint width. For further comparisons between the two joint choices and how patterns change the decision, consult the site’s comparison piece 1/16 Vs 1/8 Grout Lines.
Cleaning, Sealing, and Maintenance Differences
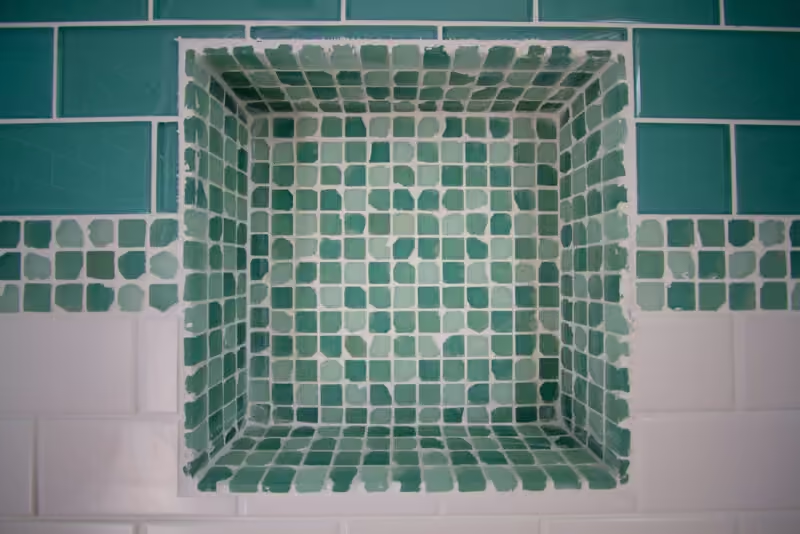
Narrow joints present less grout surface overall, which reduces the total area to clean but makes individual stains more visible at the tile edge. Cementitious grout should be sealed after curing in wet areas; epoxy grout reduces staining and often eliminates the need for sealer but requires different tooling and cure times. For step-by-step grout application technique and post-grout cleaning, see the practical guide How to Grout Tile.
Tools, Spacers, and Quantities
Select spacer size to match the target joint and use a leveling system for narrow joints. Estimate grout quantity from joint width and depth; add 10 to 15 percent for waste. For finishing a narrow joint cleanly, a quality rubber grout float and a firm, consistent tooling stroke are essential; consider a dedicated grout float in your tool list.

| Decision Factor | What To Do |
|---|---|
| Tile Edge Type | Rectified: 1/16-1/8 inch. Calibrated/non-rectified: 1/8-3/16 inch. |
| Substrate Flatness | Very flat (within straightedge tolerance): consider 1/16 inch. Uneven: favor 1/8 inch or wider. |
| Location | Walls and backsplashes: 1/16-1/8 inch. Floors and wet areas: 1/8 inch or greater depending on tile size. |
Color Choice and Visual Effects
Grout color alters perceived joint width. A close match reduces the grid effect and visually narrows the joint, while contrast accentuates pattern and any irregularities. When using narrow joints with dark grout, expect edge imperfections to read more sharply; test grout color on a mockup to verify the combined effect before proceeding with the full installation.
Common Installation Mistakes to Avoid
- Specifying 1/16 inch without verifying tile straightness, box consistency, or installer skill, which increases the chance of visible lippage.
- Overwashing or overworking grout in narrow joints, which removes material and creates inconsistent widths.
- Ignoring manufacturer minimum joint recommendations; tech sheets and standards-backed guidance should drive the minimum joint decision.

Questions to Ask Before You Start
Request the tile supplier’s recommended joint width, ask for a small mockup panel using the actual tile and grout color, and confirm the installer’s proposed grout product and sealer. Consult the ANSI/TCNA standards overview ANSI/TCNA standards overview and the TB87 guidance TB87 grout joint width: what is the right size? when comparing supplier recommendations to jobsite risk and the desired look.
Which joint you pick affects appearance, installation difficulty, and long-term performance. Use the standards and manufacturer technical bulletins cited above to set a defensible minimum, require a mockup, and set acceptance criteria for flatness and lippage before full installation.
Related Video
In deciding between 1/16 and 1/8 grout lines, consider the overall design and maintenance of the space. The finer 1/16 grout lines can create a sleek, modern look and are ideal for high-end installations, but they may require more effort to keep clean. On the other hand, 1/8 grout lines offer a more traditional appearance and might be easier to maintain. Ultimately, the choice will depend on personal preference, the intended style of the area, and practicality.
More from Architecture Adrenaline
For more insights and tips on design choices, explore our social channels. You can find additional posts like this one by following us on Instagram.