How To Install Recessed Lighting In Existing Ceiling
How To Install Recessed Lighting In Existing Ceiling: Complete How To Install Recessed Lighting In Existing Ceiling Guide
How To Install Recessed Lighting In Existing Ceiling: Complete How To Install Recessed Lighting In Existing Ceiling Guide
🎯 Intermediate⏱ 4–5 Hours💰 Est. $100–$300
Recessed lighting offers a clean, modern look that can brighten your home without taking up visual space. If you have an existing ceiling, installing these lights might seem daunting, but with the right approach and tools, you can achieve professional results. This guide is designed to help you navigate the installation process step-by-step, providing practical advice on materials, wiring, and styling. Whether you’re a homeowner looking to refresh your space or a remodeler seeking inspiration, you’ll find actionable tips to bring recessed lighting into your rooms with confidence.
What Is How To Install Recessed Lighting In Existing Ceiling?
Installing recessed lighting in an existing ceiling involves careful planning, measuring, and working around your current structure. Unlike new construction, you’ll be retrofitting lights into a finished ceiling, so precision is key. This process includes selecting the right housing, cutting accurate holes, running electrical wiring through joists, mounting fixtures securely, and finishing with trims that complement your décor. Proper placement ensures even light distribution and highlights key areas. You'll also learn how to comply with electrical codes and maintain safety throughout. This guide breaks down each phase, helping you upgrade your lighting with minimal disruption and maximum style impact.
⚠️ Safety First
Always turn off power at the circuit breaker before starting electrical work.
Verify no voltage is present with a voltage tester before handling wires.
Wear safety glasses and gloves when cutting drywall and handling wiring.
Follow local electrical codes and consider hiring a licensed electrician for complex wiring.
Ensure proper insulation clearance around housings to avoid overheating.
🛠 What You'll Need for How To Install Recessed Lighting In Existing Ceiling
Materials
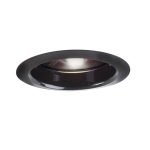
Recessed Light Housings (IC-rated) — suitable for existing ceilings and safe for insulation contact
LED Recessed Light Bulbs — energy-efficient, long-lasting light source
Light Trims — finishes that define the look and light spread
Electrical Wire (14/2 or 12/2 Romex) — for connecting fixtures to power supply
Wire Nuts — secure electrical connections
Electrical Boxes — junction points for wiring
Drywall Patch Kit — to repair any ceiling imperfections after installation
Tools
Stud Finder — locate ceiling joists to position lights
Hole Saw or Drywall Saw (4-6 inch) — cut precise holes for housings
Voltage Tester — ensure power is off before wiring
Wire Strippers — prepare wires for connections
Measuring Tape & Pencil — mark light placement
Drill with Screwdriver Bits — secure housings and electrical boxes
Fish Tape — pull wiring through ceiling cavities
Step-by-Step Instructions
Step 1Plan Your Lighting Layout⏱ ~45 min
Measure the room and decide where to place your recessed lights for balanced illumination. Typically, space lights about 4 to 6 feet apart and 2 to 3 feet from walls to reduce shadows. Use a stud finder to locate ceiling joists and avoid them when positioning housings. Mark each location with a pencil, ensuring even spacing and alignment with room features.
💡 Pro Tip: Sketch your layout on graph paper or use an app to visualize spacing and placement.
Step 2Turn Off Power and Prepare Ceiling⏱ ~30 min
Switch off the circuit breaker controlling the room’s lighting and verify power is off using a voltage tester. Remove any existing fixtures if applicable. Use a hole saw sized to your recessed housing (usually 4 or 6 inches) to cut holes at marked points. Cut carefully to avoid damaging joists or wiring above.
💡 Pro Tip: Wear safety goggles and a dust mask to protect against drywall dust.
Step 3Run Electrical Wiring⏱ ~60 min
Use fish tape to pull new electrical wire (14/2 or 12/2 Romex) from the existing power source to each recessed light hole. Drill small holes through joists if necessary to route wiring neatly. Leave extra wire length (about 12 inches) at each hole for connecting to light housings.
💡 Pro Tip: Label wires at each end to keep track of connections.
Step 4Install Recessed Light Housings⏱ ~30 min
Insert the IC-rated recessed housings into each hole. Use the mounting clips or screws provided to secure them tightly to the drywall. Make sure housings are flush with the ceiling surface and stable.
💡 Pro Tip: Double-check that housings do not interfere with insulation or joists.
Step 5Make Electrical Connections⏱ ~45 min
Strip the wires and connect the house wiring to the recessed light leads using wire nuts: black to black (hot), white to white (neutral), and green or bare copper to ground. Push the connected wires neatly into the housing’s junction box and secure the cover.
💡 Pro Tip: If unsure about wiring, consult a licensed electrician.
Step 6Install Light Bulbs and Trims⏱ ~20 min
Insert LED bulbs into each housing and attach the trim rings according to manufacturer instructions. Choose trims that complement your room’s style—matte white for a subtle look or metallic finishes for a modern touch.
💡 Pro Tip: Use dimmable bulbs and compatible dimmer switches for lighting control.
Step 7Test and Finish⏱ ~30 min
Restore power at the breaker and test each light for proper operation. Patch any minor drywall imperfections around holes with a drywall patch kit and paint to match your ceiling. Clean the area and enjoy your new recessed lighting.
💡 Pro Tip: Adjust bulb angles if adjustable trims are used to highlight key features.
💡 Pro Tips & Expert Advice
Use IC-rated housings when installing near insulation to prevent fire hazards.
Consider LED bulbs with a color temperature between 2700K and 3000K for warm, inviting light.
Plan your wiring to minimize junction boxes and keep circuits simple.
Label your circuit breaker panel for easier future maintenance.
Use adjustable trims to direct light toward artwork or architectural details.
Can I install recessed lighting myself if I have no electrical experience?
Basic DIY skills help, but electrical work can be complex. If you’re unsure, it’s safer to hire a licensed electrician.
How far apart should recessed lights be spaced?
Typically, space lights about 4 to 6 feet apart and 2 to 3 feet from walls for even lighting.
What type of bulb is best for recessed lighting?
LED bulbs are recommended for energy efficiency, long life, and low heat output.
Do I need special housings for insulated ceilings?
Yes, use IC-rated housings designed to safely come into contact with insulation.
Can I use dimmer switches with recessed LED lights?
Yes, but ensure your LEDs and dimmers are compatible to avoid flickering.
Will installing recessed lighting lower my ceiling height?
No, recessed lights sit inside the ceiling cavity, preserving ceiling height.
Installing recessed lighting in an existing ceiling is a rewarding project that can significantly enhance your home’s ambiance and style. By carefully planning your layout, using the right materials, and following safe wiring practices, you can achieve professional-looking results that highlight your space beautifully. Whether you’re brightening a kitchen, living room, or hallway, these steps empower you to upgrade your lighting with confidence. Remember to prioritize safety and consider professional help for electrical tasks if needed. With your new recessed lights in place, enjoy a modern, clean aesthetic that adds value and comfort to your home.
Ready to get started?
Get a free quote from local professionals in your area.
⚠️ Disclosure: Some links in this guide are affiliate links. Architecture Adrenaline may earn a commission at no extra cost to you.
Design Deep Dives & Resources
Use these references to go deeper on layouts, materials, lighting, safety, and maintenance decisions that matter for this style.
Research-Backed Planning Notes
Outdoor lighting should have a job: DOE frames outdoor residential lighting around aesthetics, security, and utility, with controls and shielding to reduce waste and glare. Layer low path lights, focused task lights, and shielded accent lights instead of flooding the entire patio with one harsh fixture.Source: U.S. Department of Energy
Solar outdoor lighting is site-sensitive: DOE notes winter operating times for outdoor solar lights can vary by 30 to 50 percent unless the system is sized for winter operation. Place solar panels away from shade and use hardwired or rechargeable task lighting where dependable evening light matters.Source: U.S. Department of Energy
Plant choice affects maintenance and longevity: UMN Extension emphasizes function, maintainability, environmental soundness, cost-effectiveness, and visual appeal in sustainable landscape design. Choose plants around sun, soil, mature size, and maintenance tolerance before choosing containers or furniture colors.Source: University of Minnesota Extension
A good landscape behaves like connected rooms: USU Extension compares landscapes to outdoor rooms with different uses, volumes, circulation paths, and water needs. Use the cover, furniture layout, pavers, screens, and planting edges to define a room rather than scattering decor around the slab.Source: Utah State University Extension
DOE Energy Saver Lighting Design - Practical guidance for efficient indoor and outdoor lighting layers, controls, glare reduction, and fixture placement.
International Code Council I-Codes - Use this as a starting point for code families, then verify the code edition adopted by the local building department.
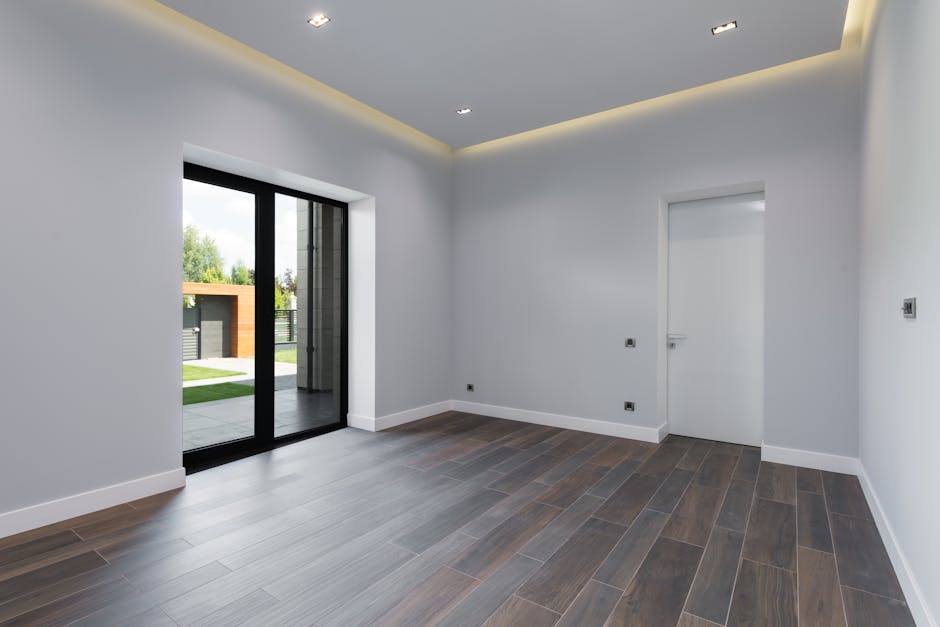
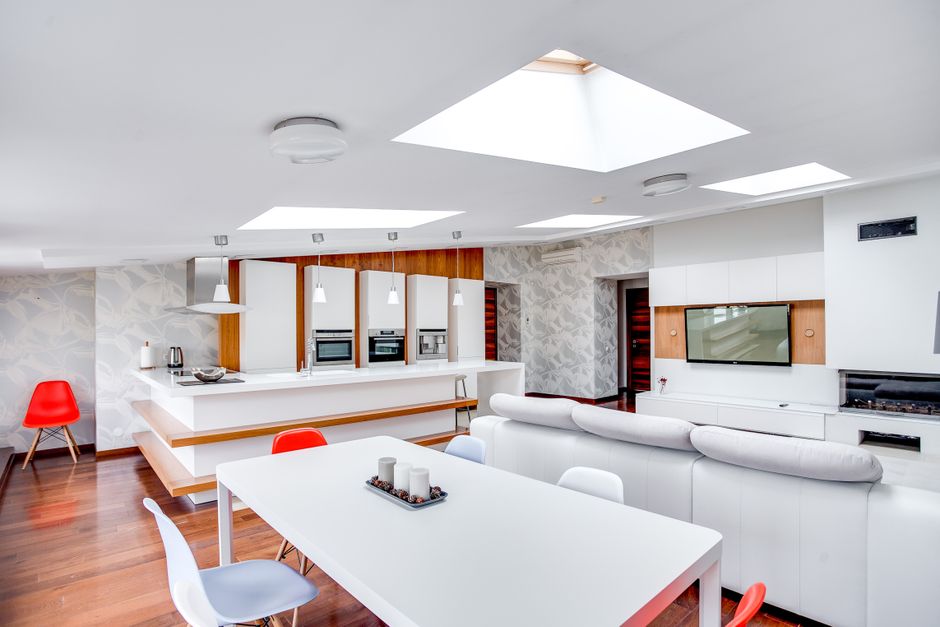
From below of male screwing light bulb into new fashionable lamp during renovation work in apartmentInterior of spacious room with laminate flooring big glass doors viewing terrace and white walls in daylightBright and contemporary apartment space with kitchen island and living area.
Want your brand featured on Architecture Adrenaline?
Justin Ankus is a designer, ceramicist, and digital media entrepreneur with a degree in architecture from the Illinois Institute of Technology in Chicago. He is the founder of JJ Clay Studio and the creator of Architecture Adrenaline, where he explores architecture, interiors, real estate, design, and creative living. His work blends architectural thinking, visual storytelling, automation, and hands-on making, with a focus on turning creative ideas into tangible projects across web, clay, and built environments.
Immerse yourself in architecture’s most boundary-pushing ideas—where innovative home improvements meet visionary urban developments. Discover new building techniques, materials, and creative concepts that are redefining how we shape our spaces on a global scale.