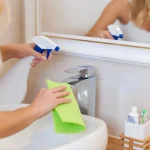
Knowing how to clean a toilet flange is essential for maintaining both the hygiene and functionality of your bathroom. The toilet flange, often overlooked during routine cleaning, serves as a critical component that connects the toilet to the waste pipe, ensuring a secure and odor-free seal. Routine cleaning prevents unpleasant odors and potential leaks, as well as ensures the longevity of your bathroom setup.
| Cleaning Step | Materials Needed | Tips |
|---|---|---|
| Remove Toilet | Wrench, Gloves | Shut off water supply first |
| Clear Debris | Scraper, Trash Bag | Wear gloves for hygiene |
| Clean Flange | Brush, Disinfectant | Use a strong disinfectant |
| Inspect and Replace | New Flange (if needed) | Check for cracks or damage |
| Reassemble Toilet | Wrench | Ensure perfect alignment |
Why Cleaning a Toilet Flange Matters
Ever wonder why that persistent odor won't disappear from your bathroom? It's time to turn your attention to the often-neglected toilet flange. This small but mighty component acts as a crucial bridge between your toilet bowl and the drainage system. Left unchecked, this area can become a breeding ground for grime and bacteria, causing unpleasant odors and potentially leading to leaks. Regular maintenance ensures that your bathroom not only smells fresh but also functions efficiently.
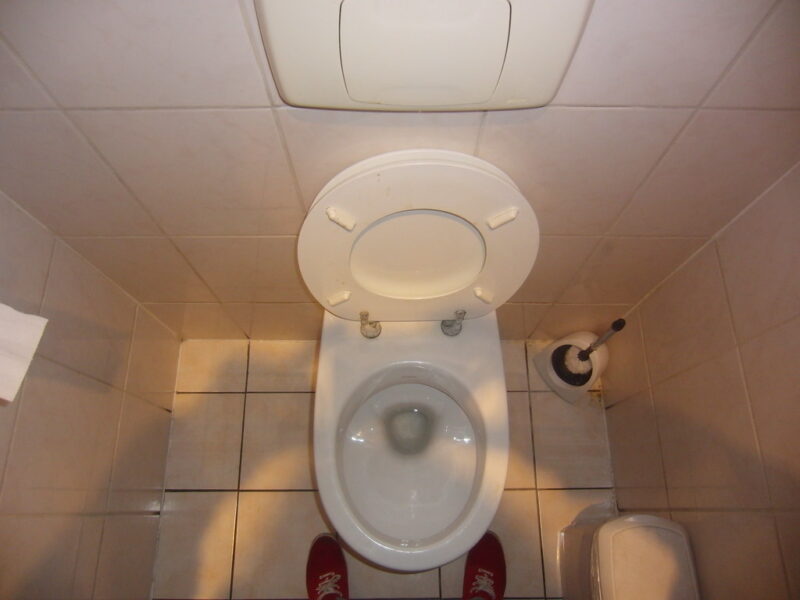
Removing the Toilet with Ease
Tackling the toilet removal might sound daunting, but with a bit of preparation, it's straightforward. Begin by shutting off the water supply. This simple step prevents any unnecessary mess. Use a wrench to unbolt the toilet from the floor gently. Wearing gloves is a must—both for hygiene and for better grip. Place the toilet carefully to avoid any damage. Trust me, this strategic patience pays off when it's time to reassemble.
Clearing Debris: Out with the Old
Once the toilet is out of the way, you might be surprised at the debris that collects around the flange. Armed with a scraper and a trash bag, you'll be prepared to tackle this head-on. Remember, gloves are your best friend for maintaining cleanliness during this step. Clearing out the old wax ring is crucial, so take your time and ensure all remnants are thoroughly removed. You’re setting the stage for a securely-sealed future.
Getting Down to Cleaning
Now that the debris is out of the way, it’s time to show that flange some love. Grab a sturdy brush and a powerful disinfectant—this is where the real magic happens. Scrub thoroughly to eliminate bacteria and residue, ensuring a fresh environment for when the toilet is reinstated. Keep in mind that using a strong disinfectant not only cleans but also sanitizes, providing a hygienic seal for your setup. For further details on the various methods applicable, you might find the TECHNIQUES - Texas A&M NRI resource insightful.

Inspecting for Longevity
Once everything is sparkling clean, take a moment to inspect the flange for any cracks or damage. This step is essential even if you think everything looks fine. A small crack can lead to big troubles down the line. If you spot any issues, consider replacing the flange entirely. Consulting reliable sources like the Fla. Admin. Code Ann. R. 62-6.009 - Alternative Systems can provide guidance on replacement standards and regulations.
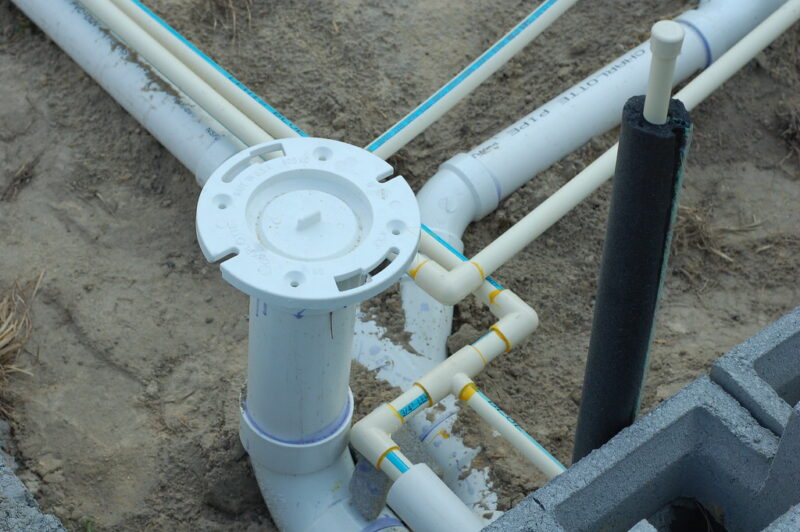
Putting it All Back Together
Reassembling the toilet is akin to completing a puzzle; align it perfectly for a seamless fit. With your wrench in hand, carefully bolt the toilet back into place, ensuring everything is snug and secure. It's vital for the alignment to be precise to prevent wobbles and leaks. For a deeper understanding of plumbing systems, the GLOBAL CASE STUDIES OF IMPROPER PLUMBING AND ... offers valuable insights.
By following these steps, not only do you extend the lifespan of your bathroom setup, but you also enjoy the comfort of a well-maintained toilet. Have you tackled a flange cleaning project recently? Share your tips or questions in the comments below—your insights could be just what another reader needs! Stay informed with our recent articles and updates.
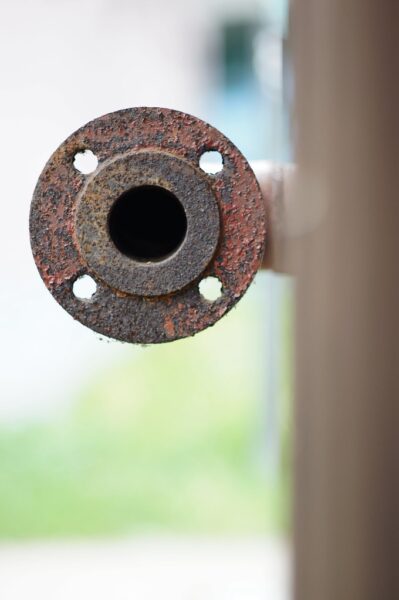
Learn How to Address a Rusted Toilet Flange
Knowing how to clean a toilet flange is essential for maintaining both the hygiene and functionality of your bathroom. The toilet flange, often overlooked during routine cleaning, serves as a critical component that connects the toilet to the waste pipe. If you've encountered issues with a rusted toilet flange and are unsure how to address them, this YouTube video by That Fix It Guy provides a quick fix solution. In the video titled "Quick Fix of a Rusted Toilet Flange!," you'll get valuable DIY plumbing tips and learn how to effectively tackle this common problem. Check out this resource to enhance your bathroom maintenance skills.
Cleaning your toilet flange might not be at the top of your list of exciting tasks, but it's one of those small but mighty chores that can make a big difference in the long run. By regularly checking and cleaning your toilet flange, you're not only ensuring that your bathroom stays fresh and functional, but you're also preventing any potential plumbing issues down the road. Trust me, your future self will thank you for sparing them the drama of an unexpected toilet disaster. Plus, with our step-by-step guide, it's a breeze to maintain that hidden hero in your bathroom!
Stay Connected for More Handy Tips
As you step back to admire your sparkling clean bathroom, remember that there's always more to learn when it comes to home maintenance. I love sharing useful tips and tricks on my journey to keeping our homes beautiful and efficient. If you found this guide helpful or if you're looking for more DIY inspirations, feel free to stay connected by following us on social media. Check out our latest posts on Instagram for a daily dose of creativity and helpful advice. Until next time, happy cleaning, and remember, every little effort counts when it comes to keeping your home in tip-top shape!