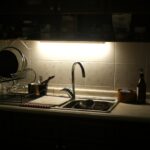
Installing under cabinet lighting can transform your kitchen or workspace by adding both function and style. However, framing the lighting properly with a durable finish is key to ensuring longevity and a polished look. In this guide, you’ll learn how to build a sturdy frame for your under cabinet lights that withstands daily wear and resists moisture or heat damage. Whether you’re a homeowner or a DIY enthusiast, this article provides detailed, actionable steps to help you achieve professional-quality results while saving money and time.
Before You Start
Under cabinet lighting requires precise framing to protect the fixtures and provide an attractive finish. This process involves selecting the right materials, accurately measuring your cabinets, cutting framing pieces to size, securing them firmly, and applying a durable finish to resist stains, scratches, and humidity. We’ll walk you through each phase, highlighting important tips and common pitfalls to avoid. By the end, you’ll have a reliable, visually appealing under cabinet lighting setup that enhances your space’s ambiance and functionality.
⚠️ Safety First
- Wear safety goggles and gloves when cutting and sanding wood.
- Ensure power is turned off before handling electrical wiring.
- Use a stable ladder or step stool when working under cabinets.
- Keep your workspace clean to avoid tripping hazards.
- Follow manufacturer instructions for all electrical components.
🛠 What You'll Need for How To Frame Under Cabinet Lighting With A Durable Finish 20260624 1iwq
Materials
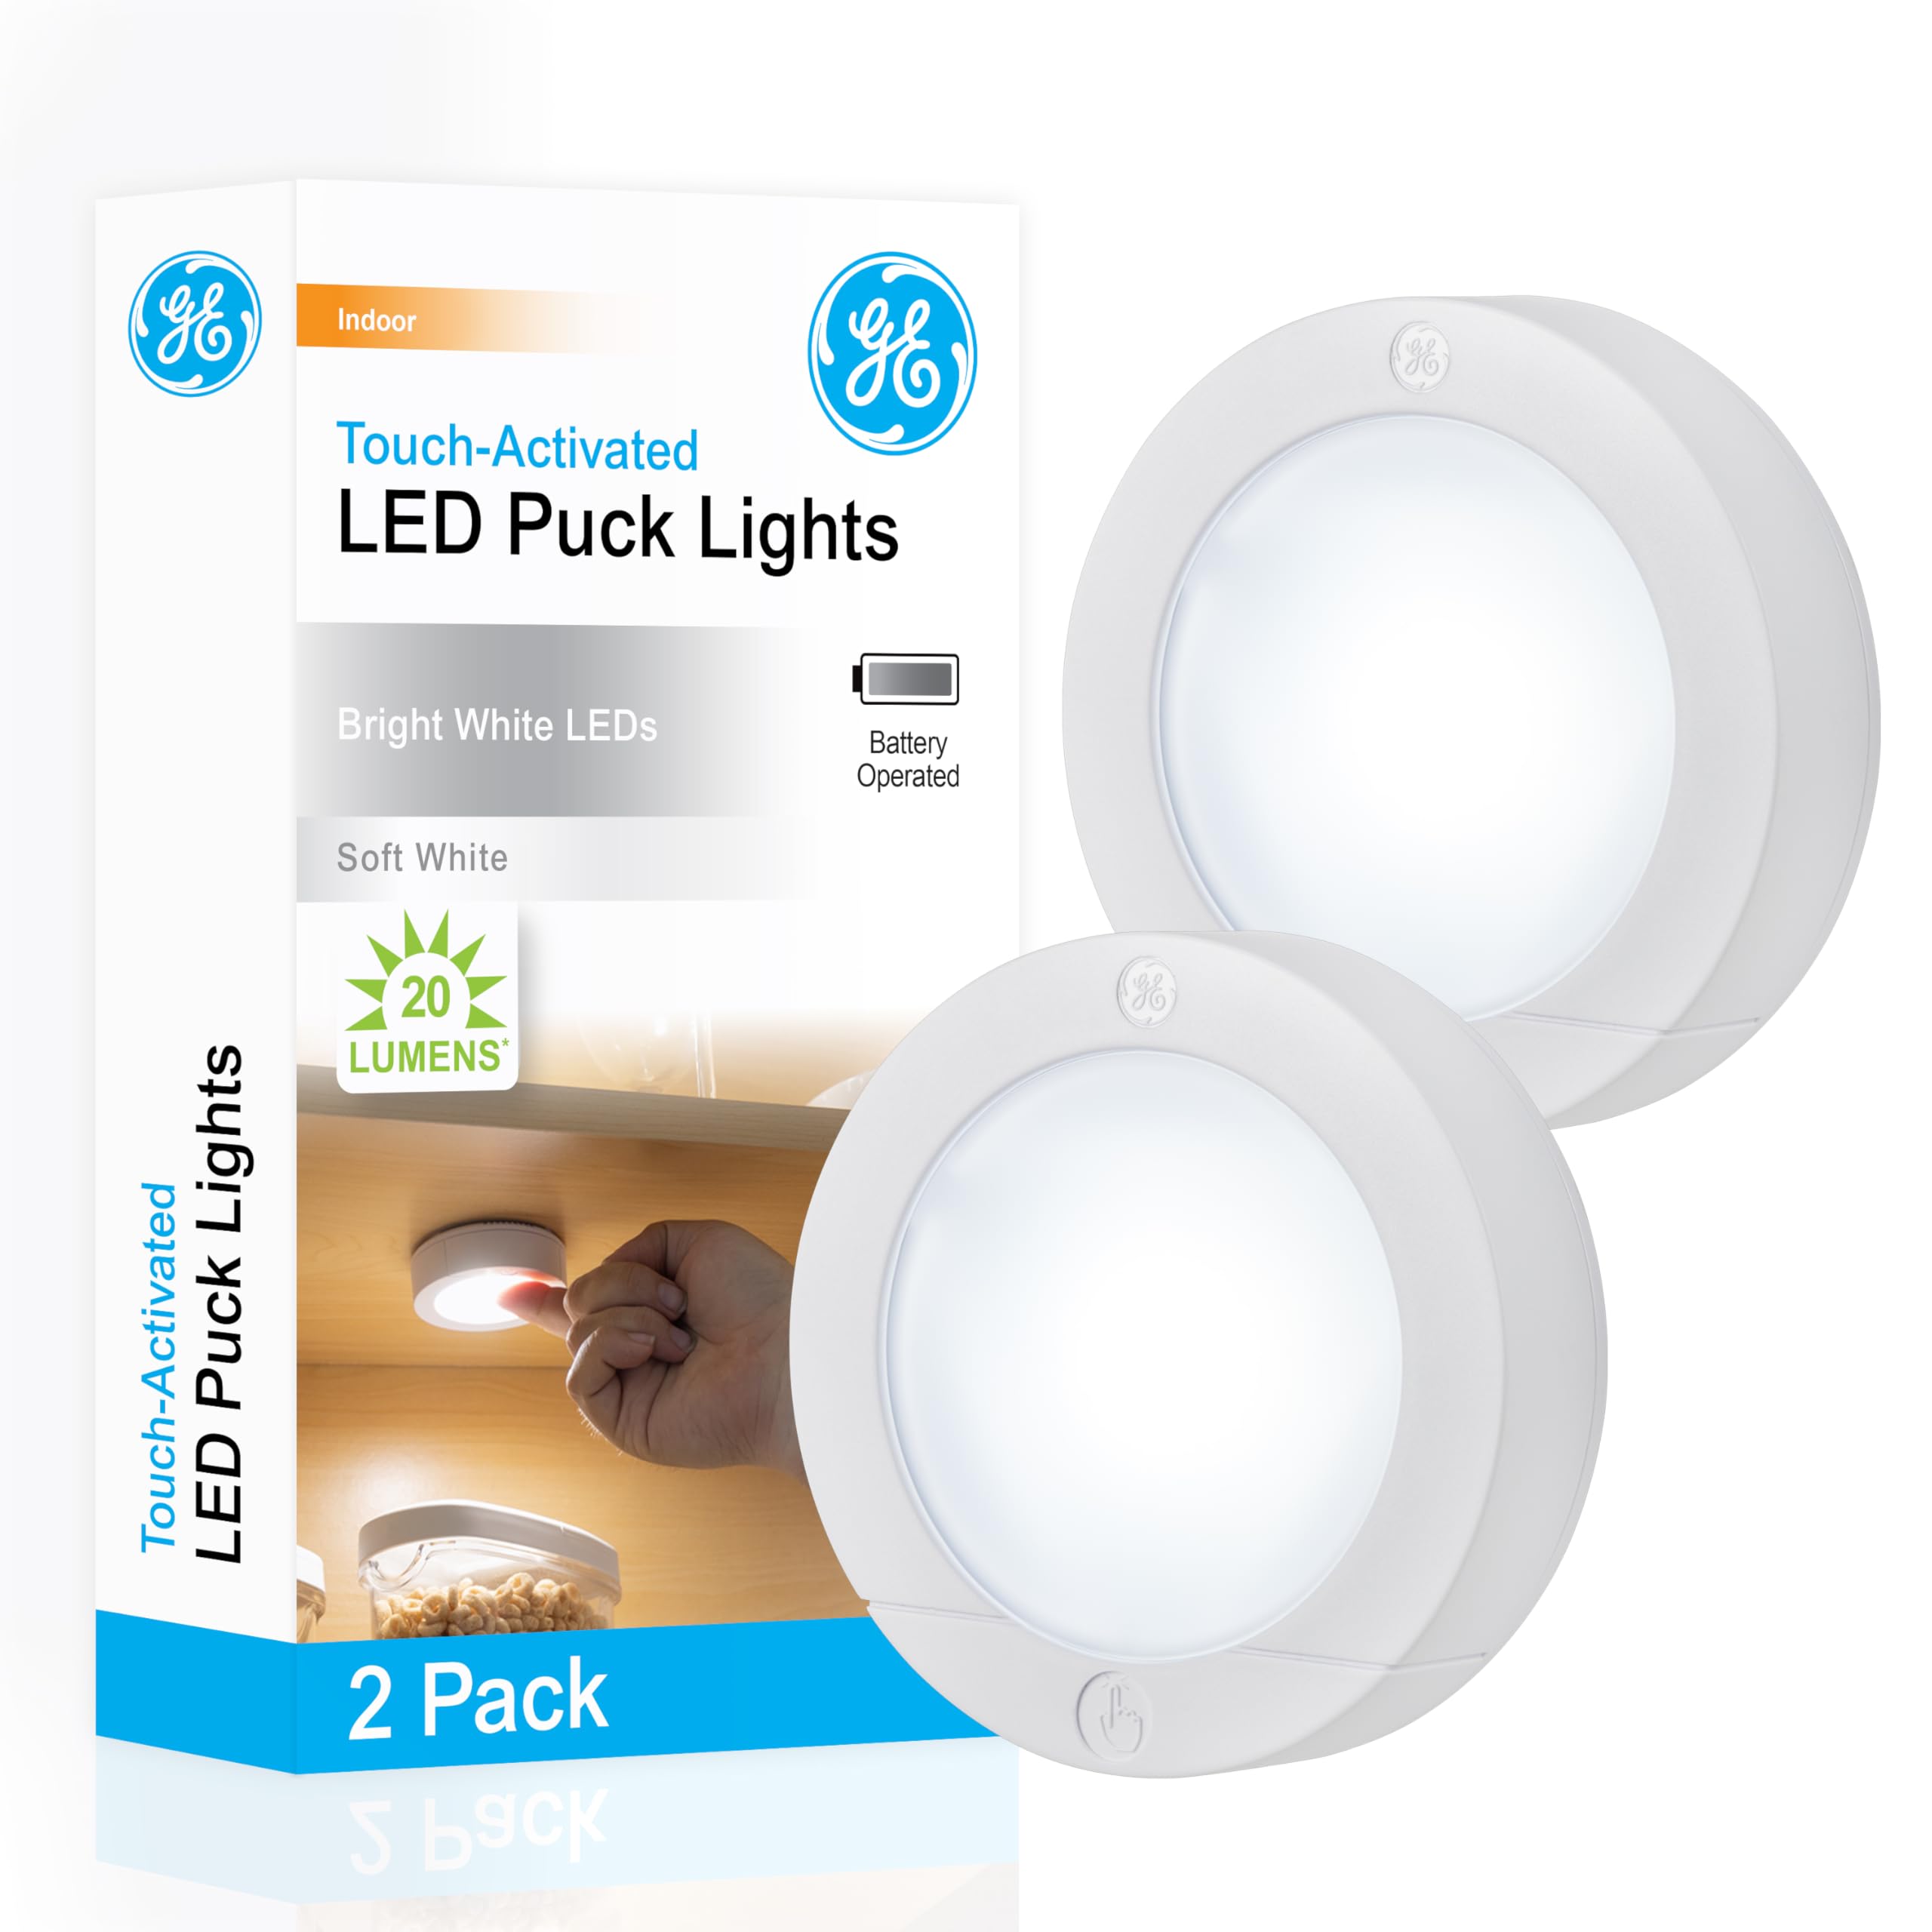
- LED light strips — primary light source, energy-efficient and low-heat
- 1x2 or 1x3 hardwood boards — framing material for durability and aesthetic appeal
- Wood screws (1¼ inch) — to securely fasten frame pieces
- Wood filler — to smooth screw holes and imperfections
- Primer and semi-gloss paint or polyurethane — for durable, moisture-resistant finish
- Double-sided mounting tape or clips — to attach light strips neatly
- Cable clips or wire management sleeves — to organize and conceal wiring
Tools
- Measuring tape — for precise length measurements
- Miter saw or handsaw — to cut framing boards at accurate angles
- Drill with screwdriver bits — to drive screws and pre-drill holes
- Sanding block or electric sander — to smooth wood surfaces
- Paintbrush or foam brush — for applying primer and finish
- Level — to ensure straight, even installation
- Wire stripper — for preparing electrical connections
Step-by-Step Instructions
Step 1 Measure and Plan Your Frame ~30 min
Measure the length and depth of your under cabinet space carefully. Note any obstacles such as cabinet doors or handles. Sketch a basic frame plan using 1x2 or 1x3 hardwood boards that will fit snugly beneath the cabinet, leaving enough space to house the LED light strips without obstruction. Plan for mounting points and wiring routes.
💡 Pro Tip: Double-check measurements before cutting to avoid mistakes.
Step 2 Cut Framing Boards to Size ~45 min
Using a miter saw or handsaw, cut your hardwood boards to the measured lengths. For corners, use 45-degree miter cuts to create clean joints that are easier to assemble and finish. Sand all edges and surfaces smooth to prevent splinters and ensure paint adhesion.
💡 Pro Tip: Wear safety goggles and cut slowly for clean edges.
Step 3 Assemble the Frame ~45 min
Pre-drill screw holes to prevent wood splitting. Use 1¼ inch wood screws to fasten the framing pieces together, forming a rectangular frame that fits your cabinet’s underside. Check alignment with a level and adjust as needed before tightening screws fully.
💡 Pro Tip: Clamp pieces together if possible for easier assembly.
Step 4 Apply Wood Filler and Sand Again ~30 min
Fill screw holes and any gaps in the frame with wood filler. Once dry, sand the filled areas smooth to create an even surface ready for finishing. This step ensures a professional, seamless look.
💡 Pro Tip: Use a putty knife for smooth application and let filler dry completely.
Step 5 Prime and Paint or Seal the Frame ~60 min
Apply a coat of primer to the frame to improve paint adhesion and durability. After drying, apply two coats of semi-gloss paint or polyurethane to protect the wood from moisture and wear. Allow sufficient drying time between coats as per product instructions.
💡 Pro Tip: Use a foam brush for smooth, streak-free finish.
Step 6 Mount the Frame Under the Cabinet ~30 min
Position the finished frame under your cabinet, ensuring it is level and flush with cabinet edges. Secure it using screws appropriate for your cabinet material, typically through the frame into the cabinet base. Avoid drilling into wiring or plumbing.
💡 Pro Tip: Have a helper hold the frame while you secure it for safety and accuracy.
Step 7 Install LED Light Strips and Manage Wiring ~30 min
Attach LED light strips inside the frame using double-sided mounting tape or clips. Route wires neatly along the frame using cable clips or wire management sleeves to keep everything tidy and safe. Connect wiring to the power source following manufacturer instructions and test the lights.
💡 Pro Tip: Use a wire stripper to prepare connections and always turn off power before electrical work.
💡 Pro Tips & Expert Advice
- Always measure twice and cut once to minimize material waste.
- Use hardwood for framing to withstand heat and moisture better than softwoods.
- Consider LED strips with dimming features for customizable lighting ambiance.
- Seal all wood surfaces thoroughly to prevent warping in humid kitchen environments.
- Label wiring connections to simplify future maintenance or upgrades.
Frequently Asked Questions
- Q: Can I use softwood for the framing?
- A: While possible, softwood is less durable and more prone to moisture damage. Hardwood is recommended for lasting performance.
- Q: How do I hide wiring for under cabinet lights?
- A: Use cable clips, wire management sleeves, or route wires inside the frame to keep them concealed and organized.
- Q: What finish is best for durability?
- A: Semi-gloss paint or polyurethane provides a moisture-resistant and scratch-resistant finish ideal for kitchen environments.
- Q: Can I install LED strips without a frame?
- A: Yes, but framing protects the strips and wiring, improves aesthetics, and extends longevity.
- Q: How long does the entire project typically take?
- A: Expect about 4 hours, including drying time for paint or sealant.
Framing your under cabinet lighting with a durable finish not only enhances the look of your space but also protects your investment from daily wear and moisture. By following these clear steps, you can confidently create a professional-quality lighting frame that lasts. Take your time with measurements, assembly, and finishing to ensure the best results. With the right materials, tools, and techniques, your under cabinet lighting will brighten your home beautifully for years to come.
Design Deep Dives & Resources
Use these references to go deeper on layouts, materials, lighting, safety, and maintenance decisions that matter for this style.
Research-Backed Planning Notes
On Architecture Adrenaline
- How To Increase Natural Light In Your Home: Read the full guide
Authoritative Planning References
External Inspiration
Editor-Selected Amazon Finds
Use these shopping starting points to compare dimensions, weather ratings, and reviews before buying.
Warm outdoor LED string lights
Look for warm color temperature, outdoor rating, and enough length for clean routing.
Outdoor wall sconces
Good for covered patios where glare control and durable fixtures matter.
Dimmable outdoor smart plug
Lets you tune brightness for dinner, reading, or low-key evening ambience.
Extra Visual Inspiration