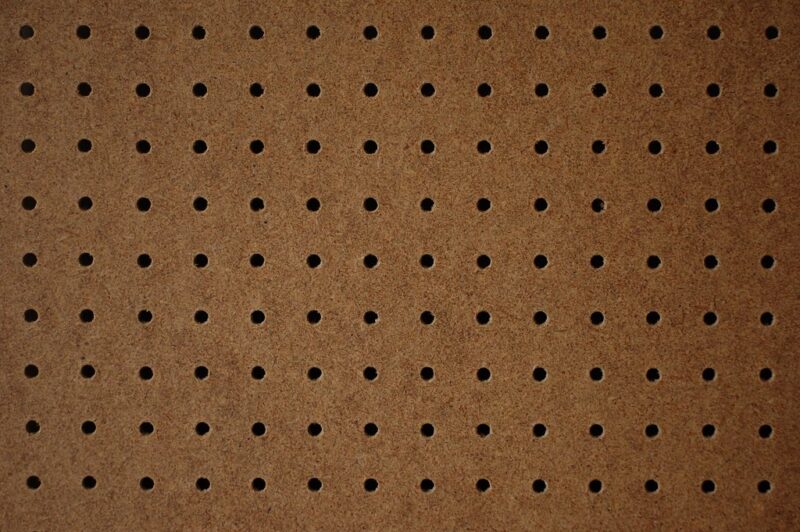
How to cut peg board effectively is a fundamental skill for DIY enthusiasts and professionals aiming to create organized, accessible storage solutions. Pegboards serve as versatile backdrops for organizing tools and supplies, but cutting them to the right size can be a challenge. Whether using a jigsaw, utility knife, box cutter, band saw, or a Dremel, each method requires specific tools and precise techniques to achieve clean, smooth edges. Below is a comparison of the main methods used to cut pegboards, along with the materials needed and basic steps.

| Method | Materials Needed | Basic Steps |
|---|---|---|
| Jigsaw | Measuring tape, pencil, jigsaw, razor blade | Measure and mark; cut along lines; score and remove section |
| Utility Knife | Measuring tape, pencil, ruler, large cardboard sheet, razorblade | Measure and mark; score and cut in multiple passes |
| Box Cutter | Pencil, ruler, box cutter | Align score marks; deepen groove for smooth cut |
| Band Saw | Measuring tape, pencil, band saw, blade guard | Clean saw; adjust tension and guides; cut for smooth edges |
| Dremel | Measuring tape, pencil, clamps, Dremel | Mark area; clamp board; cut with correct attachment |

Are you ready to transform that sheet of pegboard into a perfect piece for your DIY project? The process might seem daunting, but with the right techniques and tools, you can achieve a clean, professional look. Let's dive into the different methods you can use, starting with what you're most comfortable with.
The jigsaw is a versatile tool that might just be your best friend when cutting pegboards, especially if you need to cut intricate curves or shapes. Start by using a measuring tape and pencil to outline your desired cut on the pegboard. With a sharp jigsaw blade, carefully follow your markings. For a finished edge, score both the front and back of the pegboard with a razor blade before removing the cut section.
This method is excellent for those who are already comfortable handling jigsaws, as it provides flexibility in design with precision.
The utility knife method is all about precision and patience. Here’s how you do it: Place the pegboard on a large cardboard sheet to protect the surface underneath. Measure and mark the lines you need to cut. Then, use a ruler to guide the utility knife as you score the pegboard. Be prepared to make several light passes rather than attempting to cut through with one stroke. This technique ensures a clean break and minimizes damage to the board.
It’s particularly useful for straight cuts and when you want to avoid using power tools.
If you’re aiming for simplicity and efficiency, a box cutter can do the trick. Align the pegboard so that it follows your markings and apply gentle pressure to deepen the groove. This will help you achieve a smooth cut without the need for electricity. Remember to score the board lightly at first, just like with the utility knife, and deepen it gradually.
Simple tools can often provide more control for routine cuts, especially when dealing with smaller pieces.
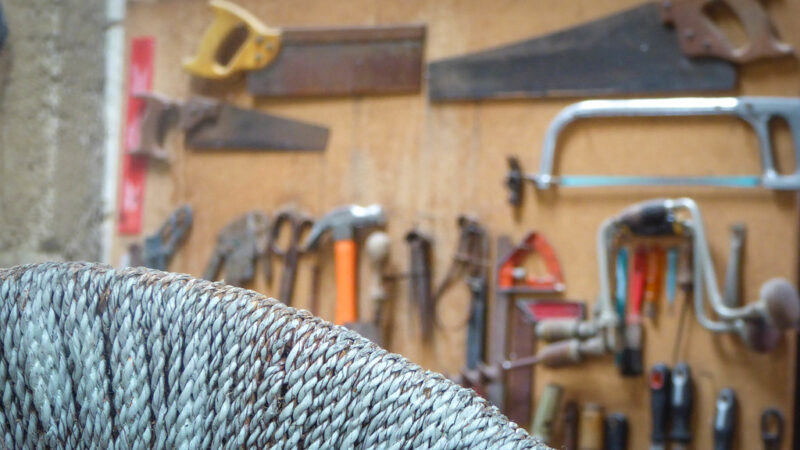
For those who prefer power tools, a band saw can cut with ease and precision. Begin by cleaning the saw and adjusting the tension and guides to fit the thickness of the pegboard. This setup ensures safety and results in smoother edges. Cutting the pegboard using a band saw not only speeds up the process but also allows for consistent quality, especially on larger or more demanding materials.
Finally, the Dremel tool is perfect for fine-tuning and detailed work. Clamp the pegboard securely, mark your cutting lines, and equip your Dremel with the appropriate attachment. This method is fantastic for delicate adjustments and intricate designs. The flexibility of a Dremel allows you to follow complex patterns or nip off small protruding parts.
Remember, choosing the right tool can depend on your comfort level and the complexity of the design you’re working on. Consider practicing on scrap pieces to get the feel of each technique before committing to your final piece.
Your DIY pegboard journey doesn’t end with these cuts. Consider exploring creative finishes or painting for extra flair. Now, we want to hear from you! What method are you excited to try, or do you have any tips to share with fellow readers? Drop a comment below—let's start a conversation! And, don’t forget to check out our recent posts to stay updated with the latest DIY tips and tricks.
To make cutting pegboard a straightforward task, check out DIYHabit’s video demonstrating a simple jigsaw method. This approach not only simplifies the process but also shows how to customize your pegboard, such as fitting it around fixtures like a water heater.
If you’re aiming for a clean, straight cut, a circular saw or a fine-tooth handsaw often works best for cutting pegboard. Make sure to measure your dimensions beforehand and clamp the board securely to keep it from shifting. Don’t forget safety gear—protective goggles and a dust mask can help you stay safe. If you prefer not to tackle it yourself, many home improvement stores offer a custom-cutting service.
Without a saw, you can still cut pegboard using a sturdy utility knife. Lay the pegboard on a stable surface, measure and mark your cutting line, and then use a straightedge to guide your blade as you score along the line. Repeat this scoring until you can snap the pegboard along the cut. It’s important to press firmly but not so hard that you lose control of the knife.
Yes! Cutting pegboard with a hand saw, or even a hacksaw, is totally doable. It may take a bit more time, but as long as you secure the board and use smooth, steady strokes with a finer-tooth blade, you’ll get a crisp cut. Patience and safety precautions, like wearing work gloves and eye protection, will make the job simpler.
For thinner hardboard, you can swap out a traditional saw for tools like a hammer and chisel or a sharp utility knife. First, outline your cut line, then carefully chisel or score along it until the board is weak enough to snap cleanly. This method is perfect for smaller projects or when you’re unable to access a power or hand saw.
With a few simple steps, cutting pegboard to fit your specific needs can transform your workshop or garage into an organized haven. From starting with the right tools to making those precise cuts, the process is as straightforward as a summer breeze. Just remember to think through the layout beforehand and measure twice to cut once; it will save you a ton of effort down the road. Plus, once you have the hang of it, you'll see that customized storage solutions can fit any space, big or small, unleashing your creativity in more ways than one.
If you're as passionate about DIY projects as I am, consider delving into the endless world of creative possibilities. Following like-minded enthusiasts can be incredibly inspiring. You might stumble across unique ideas that spark a new project or two in your own home. For more inspiration and to keep up with the latest storage solutions and DIY tricks, feel free to connect with us on Instagram. There’s always something new to explore, and I'm thrilled to share this journey with you. Happy crafting!
{"@context":"https://schema.org","@type":"BlogPosting","headline":"How to Cut Pegboard Like a Pro","url":"https://www.architectureadrenaline.com/how-to-cut-pegboard-like-a-pro/","datePublished":"2025-05-12T17:17:00-07:00","dateModified":"2026-05-15T18:08:37-07:00","author":{"@type":"Person","name":"Matt Thompson","sameAs":["https://www.linkedin.com/in/architectureadrenaline/","https://twitter.com/archiadrenaline"]},"image":{"@type":"ImageObject","url":"https://www.architectureadrenaline.com/wp-content/uploads/2025/05/photo-1606223226391-c267641c318ccropentropycstinysrgbfitmaxfmjpgixidM3w0MTYyODh8MHwxfHNlYXJjaHwxfHxwZWdib2FyZHxlbnwwfHx8fDE3NDcwOTUzMTR8MAixlibrb-4.1-800x600.jpg","width":1200,"height":630},"publisher":{"@type":"Organization","name":"Architecture Adrenaline","logo":{"@type":"ImageObject","url":"https://architectureadrenaline.com/wp-content/uploads/logo.png"}},"breadcrumb":{"@type":"BreadcrumbList","itemListElement":[{"@type":"ListItem","position":1,"name":"Home","item":"https://architectureadrenaline.com/"},{"@type":"ListItem","position":2,"name":"How to Cut Pegboard Like a Pro","item":"https://www.architectureadrenaline.com/how-to-cut-pegboard-like-a-pro/"}]},"mainEntityOfPage":{"@type":"WebPage","@id":"https://www.architectureadrenaline.com/how-to-cut-pegboard-like-a-pro/"}}
{"@context":"https://schema.org","@type":"FAQPage","mainEntity":[{"@type":"Question","name":"Mastering the Art of Cutting Pegboardsnnnn "Pegboard" by edgeplot is licensed under CC BY-NC-SA 2.0. .nnnAre you ready to transform that sheet of pegboard into a perfect piece for your DIY project? The process might seem daunting, but with the right techniques and tools, you can achieve a clean, professional look. Let's dive into the different methods you can use, starting with what you're most comfortable with.nnUsing a Jigsaw","acceptedAnswer":{"@type":"Answer","text":"The jigsaw is a versatile tool that might just be your best friend when cutting pegboards, especially if you need to cut intricate curves or shapes. Start by using a measuring tape and pencil to outline your desired cut on the pegboard. With a sharp jigsaw blade, carefully follow your markings. For a finished edge, score both the front and back of the pegboard with a razor blade before removing the cut section."}},{"@type":"Question","name":"Precision with a Utility Knife","acceptedAnswer":{"@type":"Answer","text":"The utility knife method is all about precision and patience. Here’s how you do it: Place the pegboard on a large cardboard sheet to protect the surface underneath. Measure and mark the lines you need to cut. Then, use a ruler to guide the utility knife as you score the pegboard. Be prepared to make several light passes rather than attempting to cut through with one stroke. This technique ensures a clean break and minimizes damage to the board."}},{"@type":"Question","name":"Effortless Cuts with a Box Cutter","acceptedAnswer":{"@type":"Answer","text":"If you’re aiming for simplicity and efficiency, a box cutter can do the trick. Align the pegboard so that it follows your markings and apply gentle pressure to deepen the groove. This will help you achieve a smooth cut without the need for electricity. Remember to score the board lightly at first, just like with the utility knife, and deepen it gradually."}},{"@type":"Question","name":"Smooth Sailing with a Band Sawnnnn "Toolboard beoynd the rattan rope chair" by Theen ... is licensed under CC BY-NC-SA 2.0. .nnnFor those who prefer power tools, a band saw can cut with ease and precision. Begin by cleaning the saw and adjusting the tension and guides to fit the thickness of the pegboard. This setup ensures safety and results in smoother edges. Cutting the pegboard using a band saw not only speeds up the process but also allows for consistent quality, especially on larger or more demanding materials.nnPrecision at Your Fingertips with a Dremel","acceptedAnswer":{"@type":"Answer","text":"Finally, the Dremel tool is perfect for fine-tuning and detailed work. Clamp the pegboard securely, mark your cutting lines, and equip your Dremel with the appropriate attachment. This method is fantastic for delicate adjustments and intricate designs. The flexibility of a Dremel allows you to follow complex patterns or nip off small protruding parts."}}]}


Immerse yourself in architecture’s most boundary-pushing ideas—where innovative home improvements meet visionary urban developments. Discover new building techniques, materials, and creative concepts that are redefining how we shape our spaces on a global scale.
