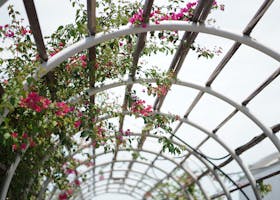
As a passionate gardener, I've always loved the idea of adding a DIY arch trellis to my outdoor space. Not only does it serve as a functional support for climbing plants like beans and roses, but it also enhances the aesthetic of my garden. In this article, I’ll guide you through the process of building your own arch trellis, exploring different styles and ideas.
What is an Arch Trellis?
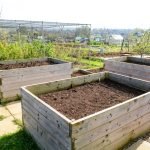
An arch trellis is a structure designed to support climbing plants, creating a beautiful archway in your garden. It's perfect for flowers, vegetables, and even fruits. This arch can effectively frame a walkway or create a stunning entrance to your garden area. According to a guide from Michigan State University, a simple arch can elevate the garden experience.
Materials Needed for a DIY Arch Trellis
When embarking on your DIY arch trellis project, you'll need a few essential materials:
- Wood or Metal Frames: Choose durable materials like treated wood or steel for longevity.
- Fasteners: Screws or nails to secure the frame components.
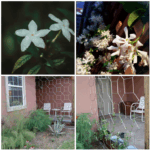
- Climbing Plants: Select your favorite vining plants to adorn the trellis.
Steps to Build Your Arch Trellis
Building an arch trellis is straightforward. Follow these steps for your own creation:
| Step | Description |
|---|---|
| 1. Measure Area | Determine where you want to place the trellis and measure the dimensions. |
| 2. Cut Materials | Cut wood or metal to form the arch shape according to your design. |
| 3. Assemble Frame | Use fasteners to attach the pieces together securely. |
| 4. Install the Trellis | Position the trellis in your pre-measured area and secure it with ground stakes. |
| 5. Plant Climbing Vegetables | Introduce climbing plants at the base and guide them as they grow. |
Design Ideas for Your Arch Trellis
For design inspiration, consider these options:

You can create a rustic wooden arch, a chic modern metallic trellis, or even a low-cost PVC design. For more ideas, check out Star Jasmine Trellis for an elegant design and how to integrate it into your garden space.