
How to Make Tile Floors Shine
Tile floors are the unsung heroes of our homes. They bear the brunt of our foot traffic, pet antics, and accidental spills, yet their aesthetic appeal often goes unnoticed. But when tile floors lose their shine, their muted beauty suddenly becomes glaringly apparent. So, how do you restore that glistening shine to your tile floors? Let's dive straight into it.
Symptoms and Causes
A dull tile floor is easy to spot. It lacks the glossy sheen, the colors seem faded, and the entire surface appears lifeless.

Common causes for this lackluster appearance include accumulated dirt and grime, the use of harsh chemicals, or the simple passage of time. The wrong choice of cleaning products can also cause a filmy residue on your tiles, further dulling their shine.
Safety Measures and Preparation
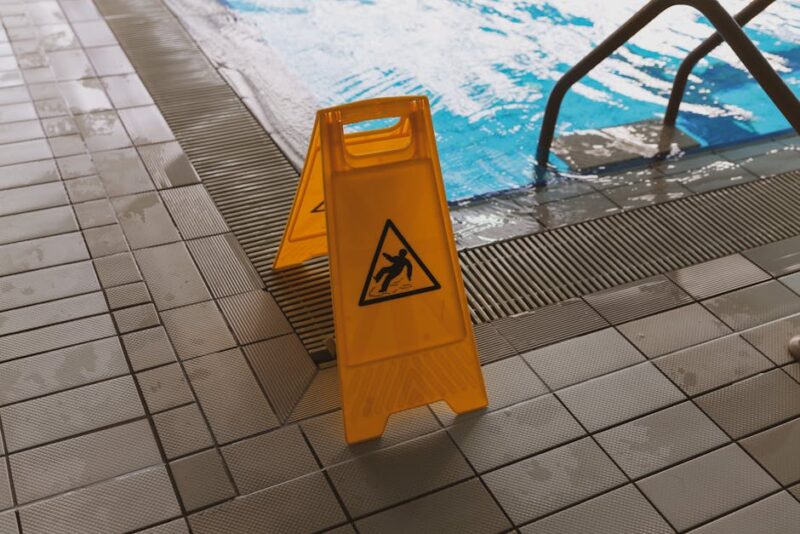
Before you start, ensure safety. Tile cleaning can be a slippery affair, so wear shoes with a good grip. Clear the area of any movable furniture and secure a stable ladder if needed.
Gathering the Right Tools and Parts
A basic tile cleaning kit should include a bucket, a mop or cloth, a scrub brush, and a towel. For cleaning products, you could either use commercial tile cleaners or make your own concoction of vinegar and warm water.
If your tiles are painted, knowing how to remove paint from ceramic tile will be essential. A paint remover or a mixture of baking soda and water can work wonders.
Step-by-Step Guide to a Gleaming Floor
1. Sweep or vacuum the floor to remove loose dust and dirt.
2. Mix your cleaning solution. If using vinegar, mix half a cup of white vinegar with a gallon of warm water.
3. Mop the floor with the cleaning solution. For stubborn stains, use the scrub brush.
4. Rinse the floor with clean water and dry completely with a towel.
Troubleshooting Tricky Tiles
If the floor still lacks shine, it might be time to consider a tile sealer or polish. These products can provide a protective layer and enhance the natural shine of your tiles.
If your tiles are white subway tiles with black grout, you might consider using a grout cleaner or whitener to restore the contrast that makes this tile style so appealing.
Calling in the Professionals
For serious stains, deep grout discoloration, or tiles that are significantly damaged, it might be time to call in a professional. They have specialized tools and experience in dealing with stubborn tile issues.
A Look at Costs and Time
The cost of making your tile floors shine again can vary greatly. If you're using homemade solutions and elbow grease, you'll only be spending a few dollars and a couple of hours. However, professional services can cost several hundred dollars depending on the size and condition of your floor.
Keeping the Shine Alive
Regular sweeping and mopping can keep your tiles looking fresh. Avoid harsh chemicals that can strip the sealant off your tiles. If your shower floor tile ideas include using natural stone, consider sealing them annually to maintain their shine.
FAQ
Can you use Mr. Clean on hardwood floors?**
No, Mr. Clean is not suitable for unsealed, waxed, or oiled wooden floors.
How to remove paint from tile?**
A: Use a paint remover or a mixture of baking soda and water. Apply the mixture, let it sit for a few minutes, then scrub gently.
What tradeoffs matter most for homeowners and designers?**
Cost, time, and the expected lifespan of the floor finish are major considerations.
Shine On
Restoring shine to your tile floor is not just about aesthetics; it's also about maintenance and longevity. A well-cared-for floor will serve you longer and look better, enhancing the overall appeal of your space.
Quick Safety Recap
Unplug the opener before you touch wiring, keep the area clear, and avoid working alone if you need a ladder.
Common Mistakes to Avoid
Skipping alignment checks and overtightening brackets are the two fastest ways to create repeat issues. Go slow and re-test after each adjustment.
After-Fix Checklist
Run the door through 3 full cycles, confirm the sensors stay aligned, and wipe the lenses clean.
Sensor Alignment Tips
Keep both sensors at the same height and angle, and tighten the brackets only after the LEDs show a steady glow.
Wiring Quick Checks
Look for loose terminals at the opener, pinched wires along the track, or damage near the sensor brackets.
Lens Cleaning Basics
Use a dry microfiber cloth first, then a lightly damp cloth if needed. Avoid harsh chemicals.
Weather-Related Issues
Direct sun glare, heavy rain, or dust buildup can disrupt the beam. Shade the sensors or wipe them down more often.
Opener Reset Steps
Unplug the opener for 60 seconds, plug it back in, and run a full open/close cycle to reset the safety check.
When Replacement Makes Sense
If the LEDs never stabilize after cleaning and alignment, replacing the sensor pair is usually the fastest fix.
Related: Best Cordless Paint Sprayers for Detailed Home Furniture Projects
Reference: AIA - Home Design Resources — Professional standards and homeowner resources.
Reference: ENERGY STAR - Home Design & Improvement — Practical guidance on high-performance home features.
